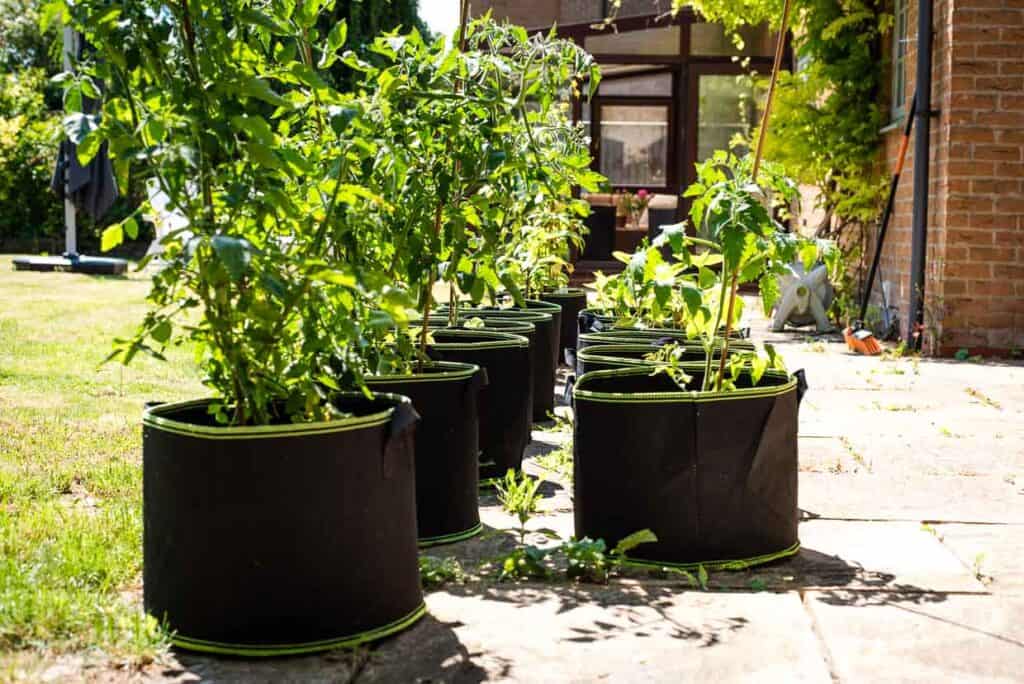
Ideal for small spaces, urban areas and rental properties, grow bag gardening is a practical solution to many of the barriers preventing more people from growing their own backyard gardens. Before you start, check out these tips for making the most of your efforts in developing your kitchen garden.

What is grow bag gardening?
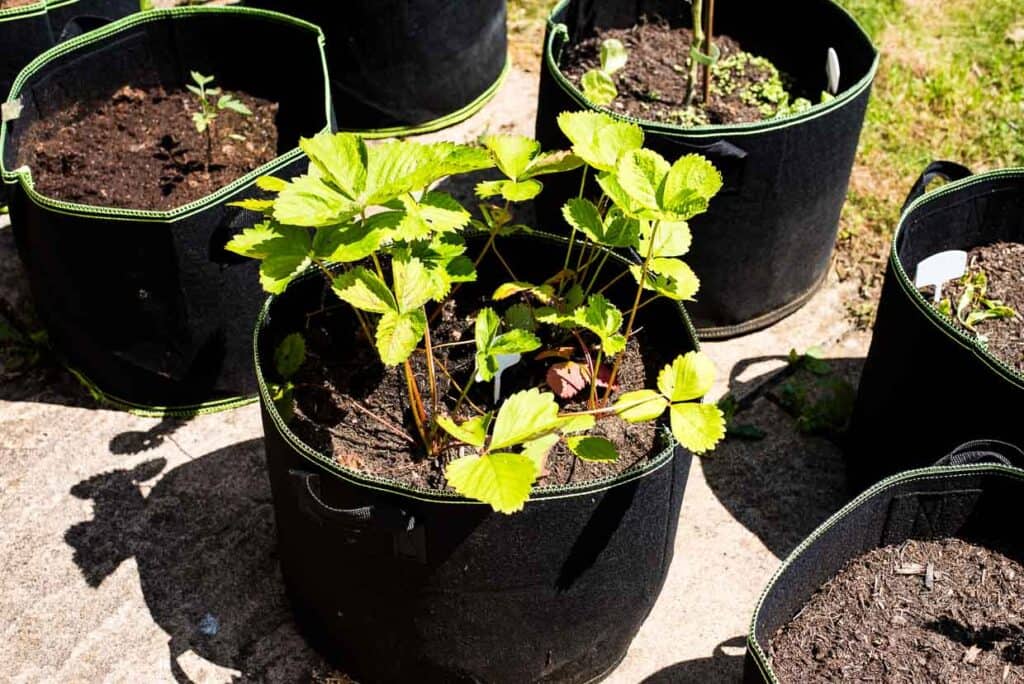
Grow bag gardening is a flexible gardening method that allows you to grow plants in soil-filled bags. Similar to using raised beds or pots, grow bag gardening is perfect for small spaces, rental properties or any situation where planting a permanent garden is not ideal.
Benefits of grow bag gardening
Grow bag gardening is an easy way to start a kitchen garden. It provides a flexible way to begin without devoting a large portion of your backyard to gardening. You don’t have to disrupt the existing space, and you don’t have to agree to a long-term commitment.
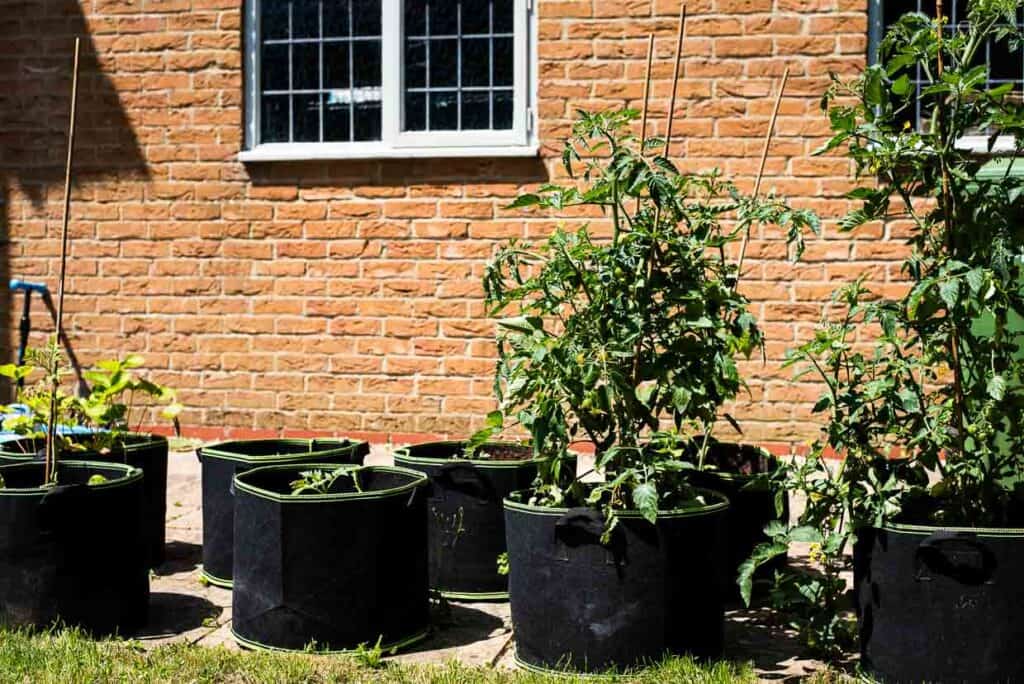
You can place grow bags practically anywhere. You can put them on rooftops, patios or even the front steps of your home. Any spot with access to a water source and enough sunlight is good for a grow bag. If the spot you chose doesn’t work for any reason, you can easily pick them up and move them.
Fabric grow bags provide excellent drainage and root aeration, leading to stronger plants and the prevention of water-related problems like root rot or other diseases. For newer gardeners and those in more rainy areas, if you accidentally overwater your plants, the excess water will naturally drain out through the fabric.
Starting your garden
Now that you’re sold on the idea of your own grow bag garden, you’ll need to pick out your essential supplies. While full-size rakes and lawnmowers don’t apply to container gardens, you may need some gardening tools in addition to the bags, soil and plants covered below.
Choosing the right grow bags
Grow bags come in different materials, with non-woven fabrics, like felt, being the most popular. A non-woven fabric will provide the best drainage and aeration. Look for something lightweight with sturdy handles. Do not use plastic grow bags. They do not drain well, are more likely to get damaged and cannot be recycled.
Small bags are good for smaller plants like herbs, while larger plants like tomatoes and zucchinis require larger bags. Alternatively, you could use a single large bag to plant an herb garden of various lettuces.
Soil and fertilizer
When shopping for fertilizer and soil, look for potting soil designed for container gardening. This type of soil provides the nutrients your plants need while removing any pathogens that can spread disease. These potting mixes often include slow-release fertilizer, which will feed your plants for the first two weeks or up to 30 days. Do not use topsoil from your backyard.
Since that initial dose of fertilizer won’t last the entire growing season, you’ll need to add fertilizer as your plants grow. Buy it while shopping for soil, and it will save you a trip back to the store later. Check the label on your soil to see when you should add the first dose of fertilizer, and check the label on the fertilizer to determine how often to add it and how to apply it. Some plants benefit from specific fertilizer blends, but a standard vegetable fertilizer can be used on many varieties in your garden.

Choosing your plants
Now comes the fun part: choosing which plants to grow. Most fruits and vegetables you grow in the ground can also be grown in a container garden if planned correctly. You cannot expect heirloom carrots to thrive in a short pot, but planting them in 10 to 12 inches of soil will provide plenty of space to stretch down into the dirt.
I have two rules to follow when picking what to plant. First, only grow things that you love to eat. They are going to taste so much better straight from the garden. Second, if you have to narrow it down, pick the more expensive or difficult-to-buy item to grow. Heirloom tomatoes can be so expensive, but zucchini, while much tastier from the garden, is usually cheap and easy to find at most grocery stores. Don’t grow things you won’t eat or can’t give away.
Source your starter plants or seeds locally to better ensure you get a variety that will thrive in your area. If you are just starting out, pick easy-to-grow plants like bush beans, summer squash or tomatoes, all of which thrive in a summer garden.
“I love using grow bags for growing potatoes! To maximize your harvest, I usually plant seed potatoes in about 4 inches of soil at the bottom of the grow bag. As the plants grow, I keep adding more soil to cover the stems, leaving the top leaves exposed. This encourages more tubers to form along the buried stems!”
— Shruthi Baskaran-Makanju, Urban Farmie
Picking the location
Choosing where to put your grow bags will come down to the sunlight and access to water. If you are like me, having the bags in line of sight or in a place where you have to walk by them every day will help you remember to water them. Having them close to a water source or with convenient access to a water source will make it more likely that you’ll get the job done. If you need one, get a hose attachment with a jet feature that allows you to water the plants while standing on a second-floor balcony instead of dragging the hose down to the garden.
Once you’ve found the ideal location, don’t be afraid to move them. Monitor your plants to make sure they get what they need. Is your cilantro getting too much sun? Move it to a spot that gets shade in the afternoons. If your tomatoes aren’t thriving, check on them in the afternoons and ensure that something isn’t blocking their access to sunlight. With grow bags, the location is not permanent; move them whenever you need to.

Managing your garden
Now that your garden is growing, there are a few things you’ll need to do to ensure it thrives throughout the growing season. The most important factors are adequate sunlight and regular fertilizer use.
Keep an eye on your plants and monitor their health by watching for pests or signs of diseases. Holes in the leaves, shiny sticky leaves, discoloration of the plants or anything that just doesn’t look right can be a sign that your plant needs help. The sooner you are able to help, the more likely your plant will recover. If you can’t identify the problem on your own, take pictures and head back to your local garden center to ask. Not only can they help you identify the problem, but they often know the best solutions for your area.
At the end of the growing season, when the plants have been harvested and start to die off, it’s time to put your grow bags away for the year. As long as they are in good condition free of holes or other damage, your grow bags can be used again and again. Remove the plants and dispose of them either in your home compost or with the yard waste. The dirt can be repurposed to fill holes in your lawn or landscaping or set aside to be replenished for next year. Rinse the dirt from the bags, then wash them thoroughly with a mild detergent. Let them air dry completely before folding and storing them for next year.
The keys to successful grow bag gardening
Grow bag gardening is an excellent way to create a garden in a space that otherwise wouldn’t support growing fruits and vegetables at home. It’s ideal for small spaces, urban environments, rental properties or expanding your growing space in an already established garden. Growing in bags provides excellent drainage, while increased aeration improves root health, making it better for your plants. Whether you are an experienced gardener looking to add more variety to an existing garden or someone just starting out, grow bag gardening is a great option.
Renee N Gardner is the creative mastermind behind Renee Nicole’s Kitchen, a recipe blog based on seasonal ingredients, dedicated to helping home cooks build their kitchen confidence to become home chefs. When Renee isn’t writing, developing recipes or photographing food, you’ll find her in the garden, traveling or enjoying the outdoors with her husband, son and two dogs.