
Forget triangle eyes and toothy grins. A pumpkin can glow through tiny drilled holes, show off a sculpted face, or become a no-knife canvas for color. These 11 techniques take you beyond the usual jack-o’-lantern, whether you want a softly lit design or a bright porch display.
Etching
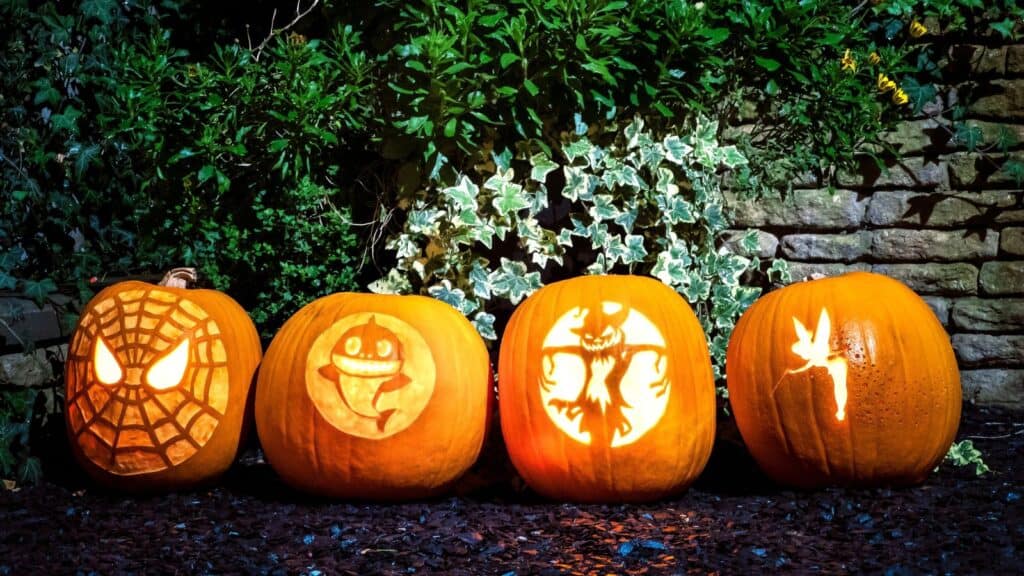
Etching removes thin layers of pumpkin skin rather than cutting straight through. This Old House suggests a linoleum cutter or etching tool for fine details, including leaf veins and curved outlines. You can leave areas untouched to contrast with the exposed flesh.
Varying Depth
Want bright and dim areas in one design? Carve to different depths without going all the way through. Sunset explains that deeper scraping allows more light to shine through. Changing your cut direction adds texture, too.
3D Sculpting
For a face that seems to rise from the pumpkin, work through its thick wall rather than cutting openings. Food sculptor Ray Villafane recommends using the available depth without breaking through. He relies mainly on ribbon loop tools, then sharpens small details with a paring knife. The deepest areas around the eyes and nose help give his faces their shape.
Rotary Tools
A rotary tool gives detailed designs a different finish. Dremel shows how to trace a pattern, engrave along its outline, remove material from larger areas and smooth rough spots with a sanding band. Read the tool manual first, use eye and respiratory protection, and support the pumpkin securely whenever practical.
Drilled Dots
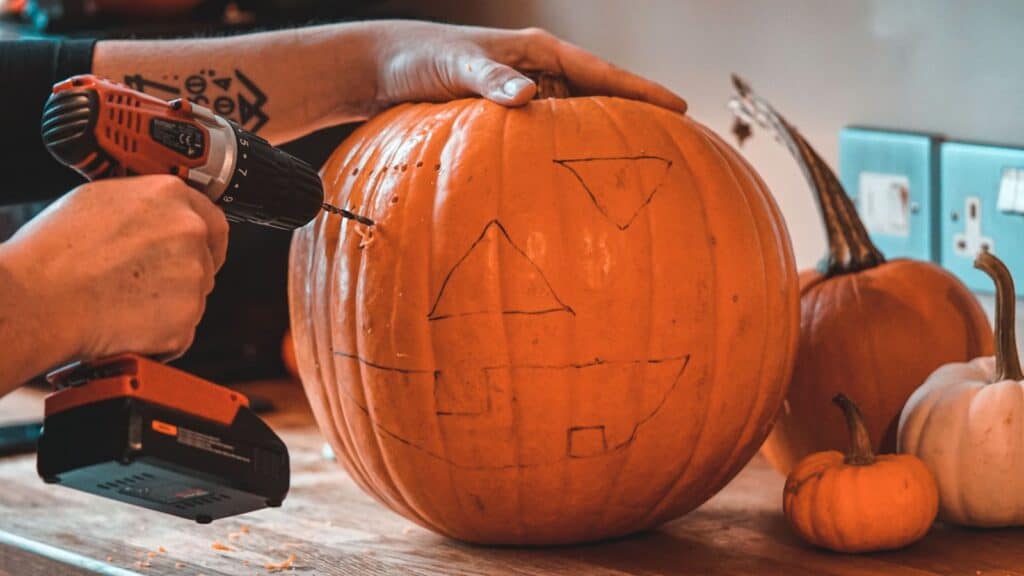
Instead of carving one large opening, drill a pattern of small holes. Blain’s Farm & Fleet suggests bits from 1/8 inch to 1 inch wide for designs such as polka dots. Different hole sizes can make the glow less uniform. Wear safety glasses, keep your hands clear and skip gloves around the rotating bit, as power-tool safety guidance warns they can snag.
Cookie Cutters and a Mallet
Metal cookie cutters can guide neat stars, flowers, and letter shapes. HGTV recommends setting a cutter against a hollowed-out pumpkin and tapping it gently with a rubber mallet. Once the cutter is driven in, an adult uses a carving knife to finish cutting through the skin. The mallet helps establish the shape; it does not replace every knife cut.
Acrylic Paint
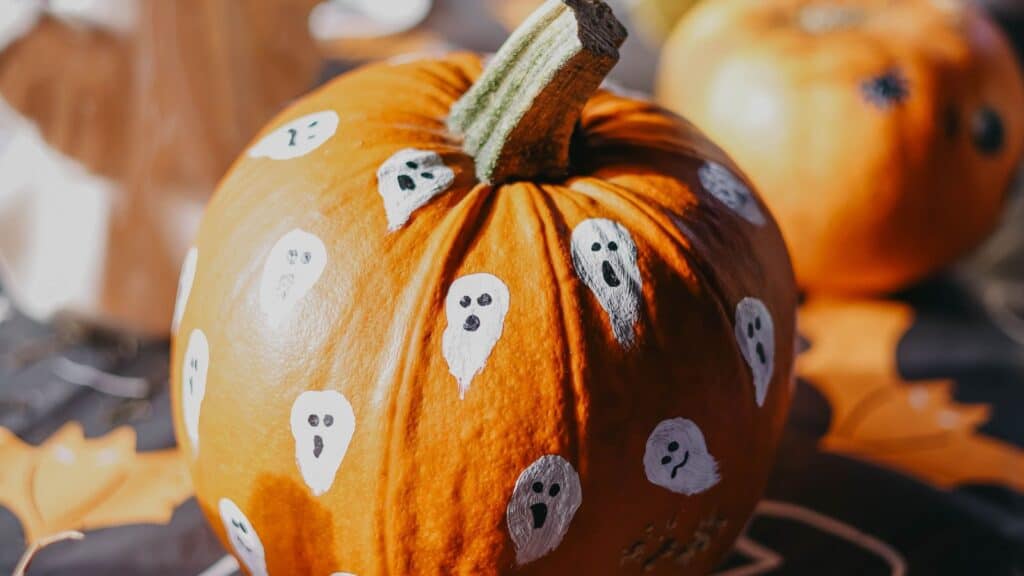
No knife is needed for a painted face or pattern. In Plaid’s tutorial, you cover the pumpkin with a white acrylic base coat using a sponge applicator. After it dries, sketch the artwork with a fine-liner pen, then fill it in with acrylic paint using a detail brush.
Napkin Decoupage
Printed napkins offer a patterned finish without carving. Plaid demonstrates this on a foam pumpkin: peel away the extra napkin layers, brush Mod Podge onto the surface and press the thin printed sheet into the ridges. Let it dry for an hour before applying the Satin top coat. Use a light touch because the napkin can tear.
Thumbtack Sparkle
Metal thumbtacks create a reflective design without removing pumpkin flesh. Cottage Life suggests pushing silver or golden tacks into the surface to make scattered dots or densely covered areas. Keep the sharp tacks out of children’s reach while decorating and when disposing of the pumpkin.
Stencil and Spray
A stencil gives you a repeatable shape without the pressure of drawing freehand. Real Homes recommends attaching a stencil with painter’s tape and dabbing acrylic paint through it with a foam brush. Spray paint is another option for broader color coverage. If paint slips under the stencil, wipe the back before continuing so the next impression stays clean.
Crayon Drip
Crayons can turn a plain pumpkin into a colorful wax-drip display. Melinda Myers recommends gluing peeled crayon pieces near the stem to keep them in place, then using a hair dryer to melt them down the sides. Protect the work surface first. High heat works faster, but it can splash hot wax, so use care.
Design for the Sidewalk
Picture where your pumpkin will sit before choosing a tool. A bold outline reads from the sidewalk while tiny details reward a closer look. Deciding what you want viewers to notice first makes the design more intentional. The strongest display starts with that choice, not with the first cut.