Flaky pastry, easy puff pastry, blitz pastry or rough puff — whatever you want to call it, this buttery, flaky, but not quite authentic puff pastry is the perfect homemade substitution for all your pastry delights. With a fraction of the effort required for traditional puff pastry, this version comes together in just 20 minutes with the help of a food processor and a rolling pin, but with a taste so good, you’ll be back for more.

An easy substitute for authentic puff pastry
Anyone who has made authentic puff pastry from scratch will tell you it’s hard work. Turning a cold block of butter into hundreds of whisper-thin layers without letting the dough get warm enough to melt or risk breaking it if it gets too cold takes a lot of patience and arm work.
On the other hand, frozen puff pastry from the grocery store simply requires following the directions to thaw it out correctly. While it may be more accessible, many of them include commercial dough conditioners or emulsifiers and don’t allow you to control the ingredients or their quality.
As someone who loves a challenge and loves to bake and seeks out a minimally processed diet, neither of the above options suits me. So I started digging and discovered a cheater version of puff pastry, with an entire list of monikers, but most commonly known as rough puff pastry. While it might not be authentic enough to win a baking contest in Paris, it is just the ticket for creating delectable, buttery pastry delights and delicious desserts in your home kitchen.
Rough puff pastry vs classic puff pastry
When comparing the end results of rough puff and authentic puff pastry, it can be difficult to tell them apart. The most significant difference between them is that in the rough version, you break the butter into small pieces before combining it with the flour instead of incorporating it as one large slab of butter.
Some bakers do this by chopping the butter into cubes, while others use a pastry cutter or a couple of forks. I opted for a combination of chopped cubes and the food processor. It’s quick, which means that the butter stays cold, and it’s efficient because it takes less than 2 minutes to mix the dough.
The most significant similarity between the two puff pastry types is the ingredient list. Both puff pastry versions contain four simple ingredients: unsalted butter, flour, salt and water. To simplify the recipe further, you can use salted butter and omit the added salt.
“I love making rough puff pastry. It’s so much quicker and easier to make than traditional puff pastry, but only experts might know the difference in the final product. I make it when I want puff pastry and don’t have the time to make the traditional version.”
— Laura Sampson, Downsizing Dinner
How to make rough puff pastry dough with a food processor
Rough puff pastry is made in two steps: using a food processor to combine the butter and flour and then using a rolling pin to create flaky layers. The ingredients for rough puff are a weight-based ratio of two parts flour, two parts butter and one part water. If you have a scale, use the weight measurements listed first, and if you don’t, follow the latter volume measurements.
- 5 ounces or 1 cup plus 2 tablespoons of all-purpose flour.
- A quarter teaspoon of finely ground salt.
- 5 ounces or 10 tablespoons of unsalted butter.
- 2.5 ounces or one-third of a cup of ice cold water.
Chop the butter into large chunks, then add it to the food processor with flour. Pulse 25 to 30 times until the butter is in small chunks and resembles wet sand. Slowly pour the water into the food processor while pulsing an additional 8 to 10 times. The dough will be crumbly but should start to come together.
Dump the dough onto a lightly floured work surface and press together until it forms a dough ball. From here, roll out the dough like you would when making classic puff pastry.

Rolling out the flaky pastry dough
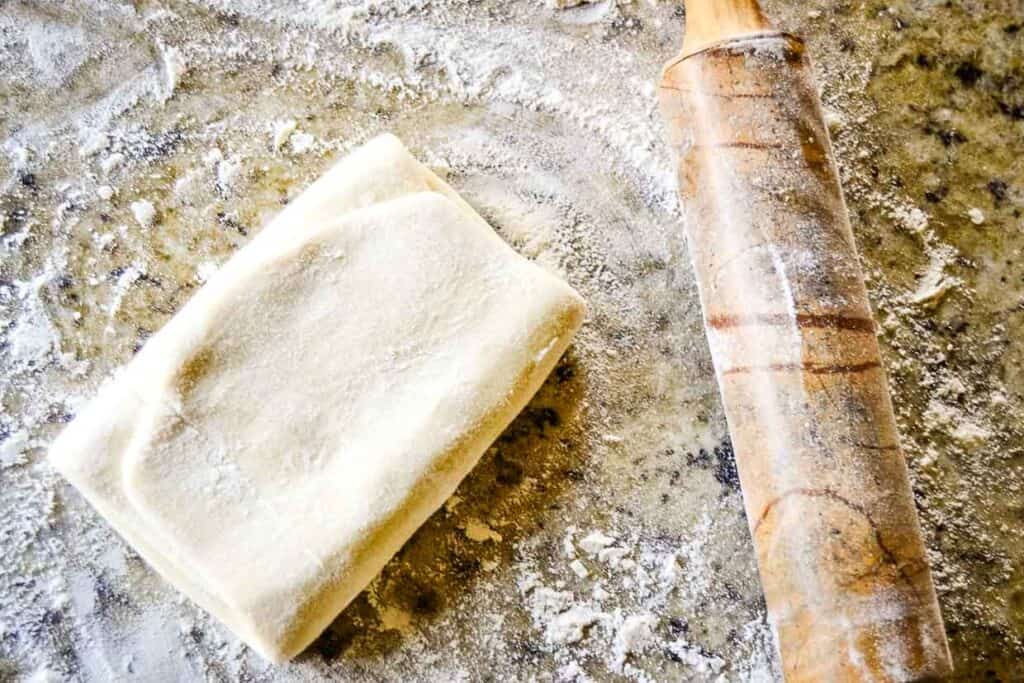
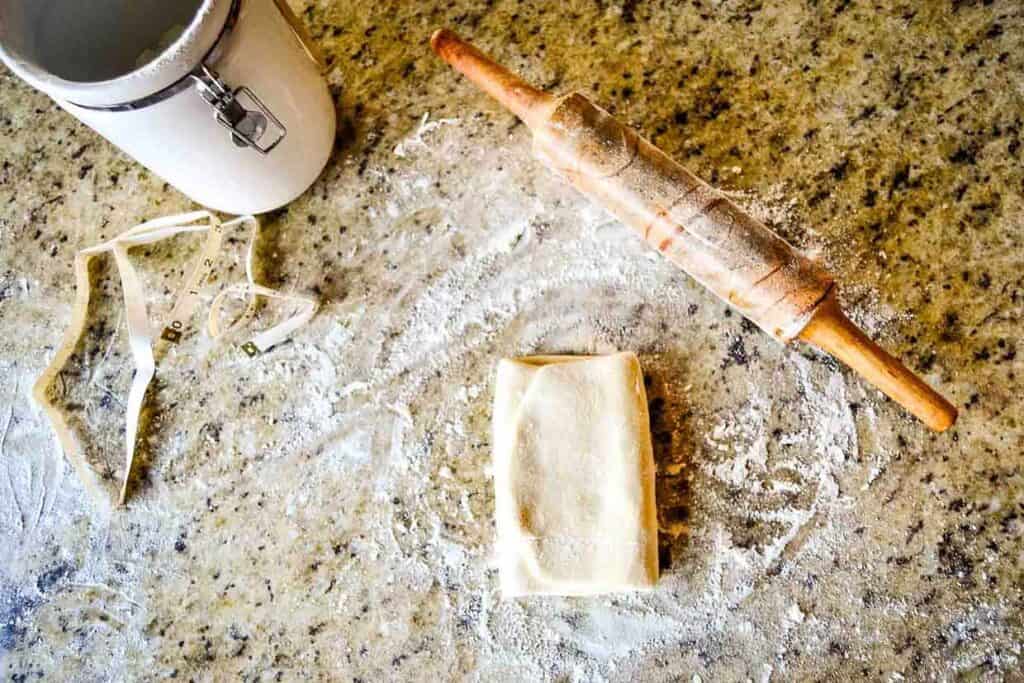
Shape the dough into a rough rectangle and roll it into a longer rectangle until it’s about half an inch thick. Fold the top down, then fold the bottom up. Turn the dough by 90 degrees and start the process again. Repeat this until you have rolled and folded six times. This repetition gives us our flaky layers — 729 of them, to be exact.
The rolling process shouldn’t be difficult, but it is where things can get tricky. Use extra flour to prevent sticking. If the dough starts to break apart and stick anyway, it means that the dough is too warm. The actual time to roll the dough will vary based on your environment.
Temperature matters
The most important part of successfully making puff pastry dough is the temperature. Warm, soft butter will not work. The dough must start with cold butter and cold water, and it must stay cold. If your environment doesn’t support that, you must stop the rolling process and pop the dough into the freezer to chill it continually.
On a cold day in a kitchen with cold granite countertops, I was able to go straight from the food processor into the rolling phase and do all six rollouts without my pastry falling apart. The rolling time took a total of 15 minutes.
On a cold day, with my oven preheated to 425 F, I could only complete two rollouts before the dough started to stick. I placed the dough on a plate, covered it with a damp tea towel and put it in the freezer for 10 minutes. Set a timer so that you don’t forget about it. The rolling time took a total of 25 minutes.
On a warm day, with the windows open and the oven running, the dough started to stick immediately. After the first, third and fifth roll-outs, I let it rest in the freezer for 10 minutes each time. I don’t recommend making puff pastry in these conditions. The rolling time took a total of 45 minutes.
The bottom line is that the colder your kitchen, the more quickly this dough will come together. In a cold kitchen, you should be able to mix and roll out this puff pastry in 20 minutes. If you work in a warm environment, allow extra time to chill the dough as you move through the process.

Putting your rough puff to work
Once rolled out, this puff pastry must be chilled in the fridge for at LEAST one hour before shaping, stuffing or baking. Cover it with a damp cloth if you plan to chill it for one to three hours. Place it in a reusable airtight container to chill for up to three days and keep it from drying out or absorbing smells from the fridge. For storage for over three days, freeze it in an airtight container, then thaw overnight in the refrigerator.
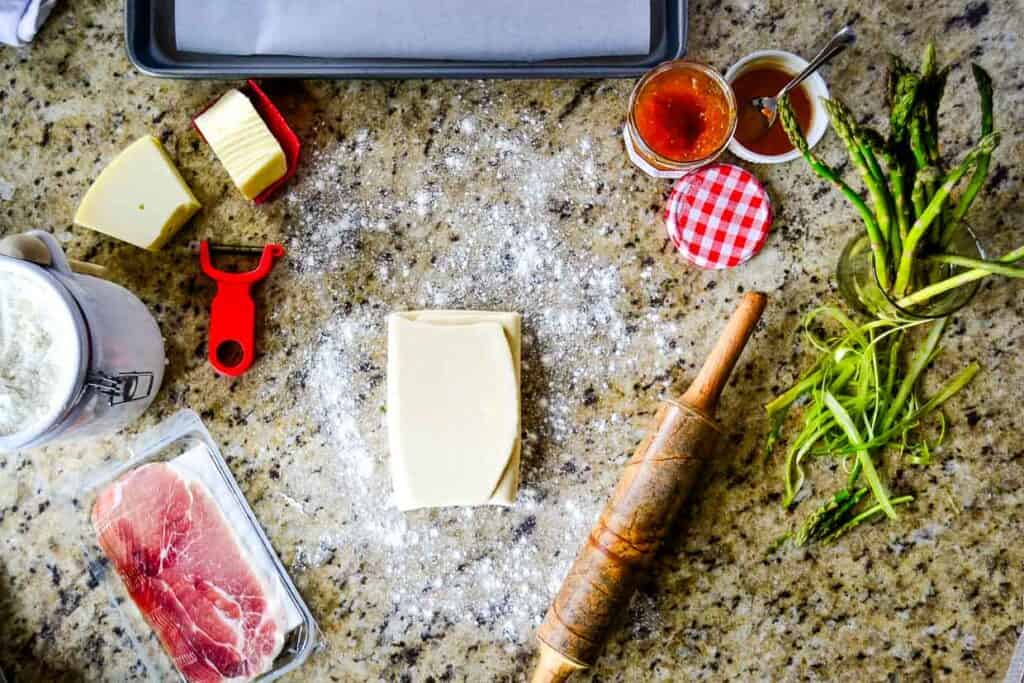
Use this flaky, rough puff pastry in any recipe that calls for traditional puff pastry. Try filling it with homemade blueberry jam for blueberry hand pies, using it to create an apricot prosciutto pastry braid for brunch or getting super simple with these homemade cinnamon twists. No matter how you choose to put it to work, it will have you coming back for more.
Renee N Gardner is the creative mastermind behind Renee Nicole’s Kitchen, a recipe blog based on seasonal ingredients, dedicated to helping home cooks build their kitchen confidence to become home chefs. When Renee isn’t writing, developing recipes or photographing food, you’ll find her in the garden, traveling or enjoying the outdoors with her husband, son and two dogs.
A version of this article originally appeared on Renee Nicole’s Kitchen.