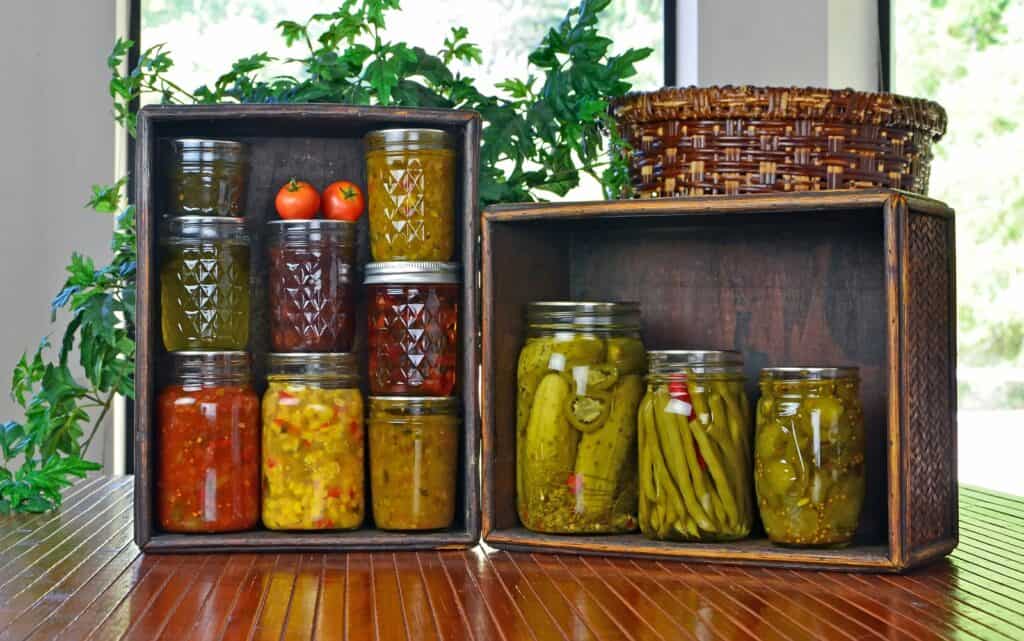
Hot water bath canning is a popular method of preserving high-acid foods such as jams, jellies, pickles and tomatoes. You can fill your pantry with home-canned goods to feed your family all year ‘round with a bit of work and the right tools.
This post may contain affiliate link(s). As an Amazon Associate, I earn from qualifying purchases. See Disclosures.
What kind of canning?
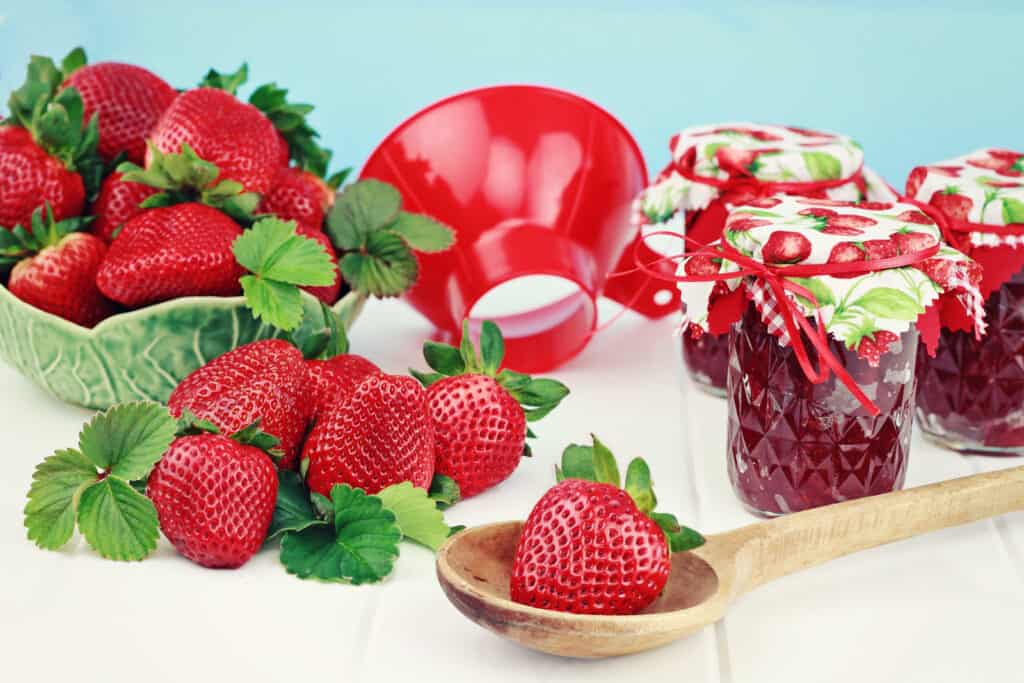
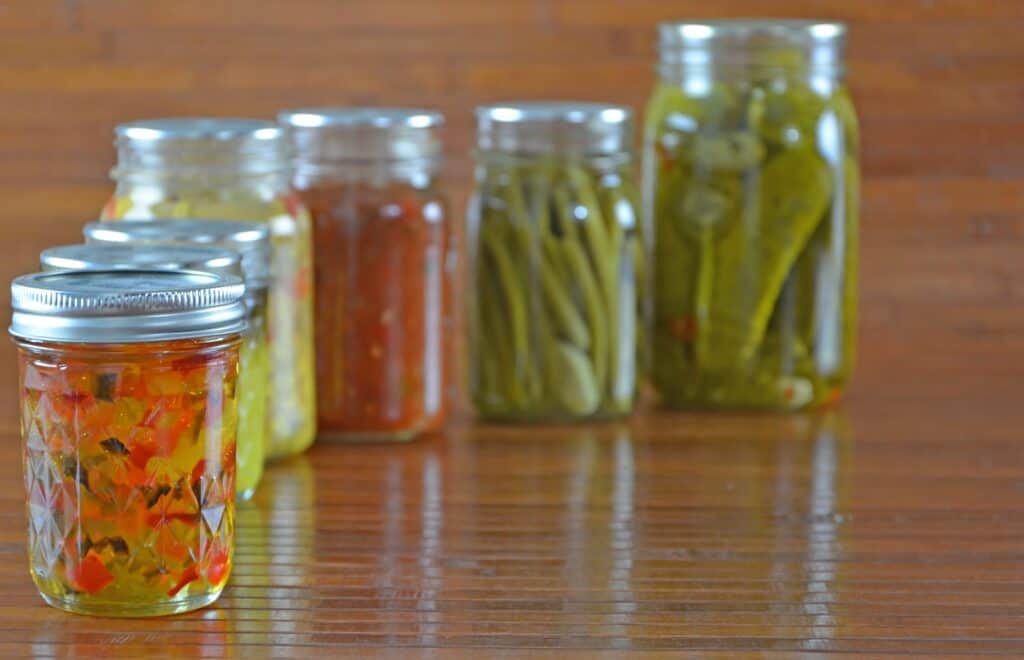
Be sure you only water-bath can foods that are high in acid or that are high in sugar, such as jam or pickles, or salsa. Low-acid foods like meat or plain vegetables must be processed in a pressure canner and not in a hot water bath. You can also quick pickle some vegetables that go straight into the fridge and require no canning whatsoever.
Be sure to use recipes that are safe for water-bath canning. The hot water canning recipes listed on the Ball Canning website have all been rigorously tested to meet canning standards, and they are safe to use.
Tools needed for hot water bath canning:
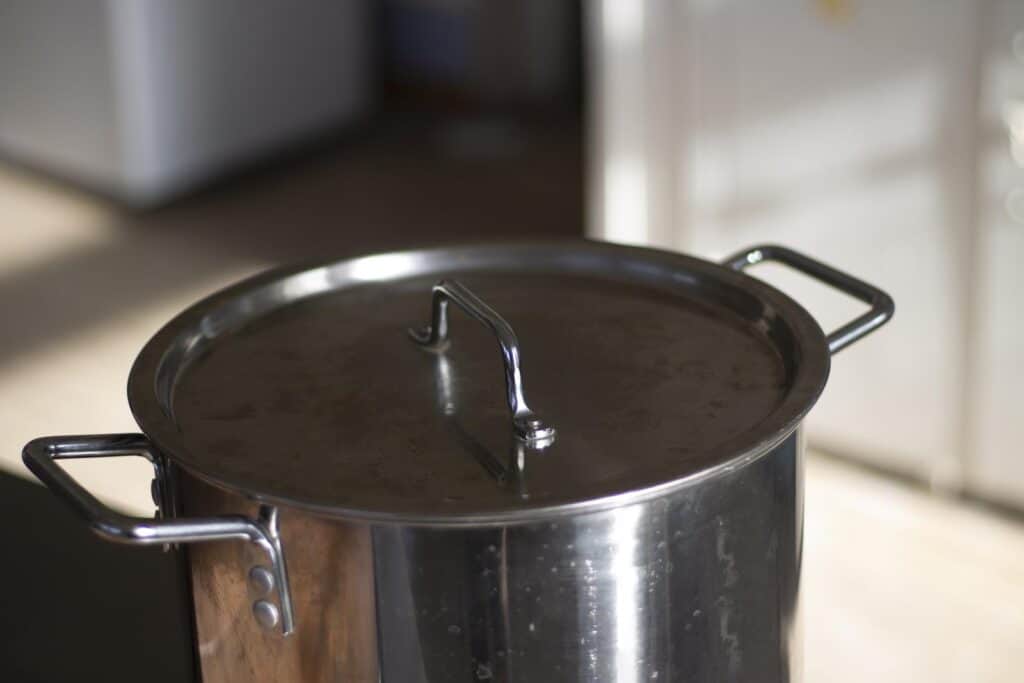
- a large pot with a lid that is tall enough to immerse your jars in water fully
- a canning rack or a towel to place at the bottom of the pot
- jar lifter
- canning funnel
- bubble remover tool
- saucepan for heating lids
- magnetic lid wand
- plenty of clean kitchen towels
- paper towels
- jars with lids and bands
“I started water bath canning when we moved to the far north as a way to preserve our garden produce for the long winters. And although I love to experiment in the kitchen, I follow the rules when it comes to water bath canning! I make sure my jars are clean and not cracked, I follow the recipe carefully, and I leave enough headspace in each jar. And by the way, The Ball’s Book of Canning and Preserving is a great book for beginners.”
— Sarita Harbour, An Off Grid Life
The process of hot water bath canning
Follow these steps to safely and properly can your food using a hot water bath:
- Prepare your equipment: Wash everything in hot soapy water and let drip dry on clean dish towels-or you can use a dishwasher to wash and dry everything.
- Clean and sterilize your jars: Wash your jars and lids in hot, soapy water and rinse them well. Then, place them in a large pot of boiling water and let them simmer for at least 10 minutes to sterilize them.
- After sterilization: Keep jars warm. You can keep them full of hot water until you fill with jelly, or put them in the oven on low heat in a roasting pan to stay as warm as possible.
- Fill a saucepan with water and drop in the flat lids, set them to stay warm but not boiling.
- Boil water: Fill the large pot with water, cover and bring to a boil. Once boiling, reduce the heat to a simmer. Keep hot.
- Prepare your food: Follow the recipe to prepare your food. Fill hot jars using the canning funnel. Leave headspace as indicated in your recipe. The proper headspace is crucial for proper canning and storage of canned goods.
- Remove air bubbles: Use the bubble remover tool or knife to remove any air bubbles from the jar. This helps prevent spoilage and ensures a proper seal.
- Wipe the rim and place the lid: Use a clean, damp paper towel to wipe the rim of the jar to ensure a clean seal. Place a warm flat lid on top of the jar, and screw on the band until it is snug but not too tight. Do not over-tighten the jar lids.
- Place jars in the canning pot: Place the filled and closed jars into to the canning rack or onto the towel in the pot of hot water. The jars should be fully submerged in water, and there should be at least 2 inches of water above the jars.
- Return the water to a boil: Cover the pot with the lid and bring the water to back up to a rolling boil. Once boiling start the timer according to your recipe.
- Remove jars from the pot: When the timer has gone off, turn off the heat and use the jar lifter to remove the jars from the pot carefully. Set the jars on a folded clean towel in an out-of-the-way place where they won’t be disturbed.
- Let the jars cool: Do not touch the jars as they cool this can create a “false seal” on the jars giving a space for spoilage to get started.
- Listen for the pop: As the jars cool the flat lids will be sucked down and make a large pop sound. It’s what they should do. It’s music to a home canner’s ears.
- Check the seals: After 24 hours, you can check the seal. Press down on the center of the lid. If the lid moves the seal is not tight and the food is not properly preserved. If the lid is pulled down snugly onto the jar, the seal is good. Store any unsealed jars in the fridge and consume within a few weeks.
- Storing your canned goods: You can store any properly canned goods in a cool dark place. Simply remove the ring and put the jar away.
“There’s nothing quite like the satisfaction you get from canning your own foods. Water bath canning is a simple process that allows you to stock your pantry with all kinds of fruits, relishes, jams, pickles, and salsas. Canning helps you preserve your own harvest, take advantage of seasonal sales, and cut down on food waste. And you have a whole host of gift options for every occasion!”
— Cery Norvelle, Bramble Wine Cottage
Hot water bath canning is an easy and affordable way to preserve your favorite foods and get you started on your homesteading journey. It’s important to follow safety guidelines to prevent any contamination or spoilage. Always use tested recipes and follow the recommended processing times and headspace for your specific food. Happy canning!
Laura Sampson of Little House Big Alaska is on a mission to teach modern family-oriented home cooks how to make old-fashioned foods new again. She shares her passion for home cooking, backyard gardening, and homesteading on her website and blog, LittleHouseBigAlaska.com.