Are you ready for some cool (literally) experiments with dry ice? Experience the world of science and prepare to be amazed!
This post may contain affiliate link(s). As an Amazon Associate, I earn from qualifying purchases. See Disclosures.
Dry ice, also known as solid carbon dioxide, is a unique substance with remarkable properties. Not only does it turn from a solid to a gas at room temperature, but it can also create some seriously awesome effects.
In this article, we’ll look at some fun and simple experiments you can do with kids with dry ice, as well as some essential safety precautions to keep in mind when handling it. So, grab your lab coat and get ready for some spooky dry ice experiments.
What Is Dry Ice
Dry ice is the solid form of carbon dioxide, one of the gasses in the earth’s atmosphere. This means that it doesn’t melt into a liquid but instead turns directly into a gas. This process is called sublimation, and it’s what creates the foggy effect you often see when dry ice is used in special effects or at Halloween parties.
Important Safety Precautions
Before we get to the experiments, we need to talk about safety. Dry ice is extremely cold and burns skin on contact. So always wear insulated gloves and use tongs to handle it. And remember all of the experiments below require adult supervision.
In addition, carbon dioxide can build up to unsafe levels if you use dry ice in an enclosed area. So make sure you only use it in large, well-ventilated rooms.
As it turns into a gas, it can cause pressure to build up in closed containers. So don’t store it in an airtight container like a freezer or cooler. Pressure will build up, and your freezer door can pop open!
Where Can I Get Dry Ice
Google is your friend here because availability will vary depending on where you live. Some specialty grocery stores sell it, or you can find an ice company that sells it to larger retailers.
Many companies will sell you a small amount for a reasonable price, especially when you tell them you will be using it for educational purposes. Just make a few phone calls, and you should be able to find some. To transport dry ice, wrap it in towels and put it in a soft-sided cooler.
Dry Ice Experiments
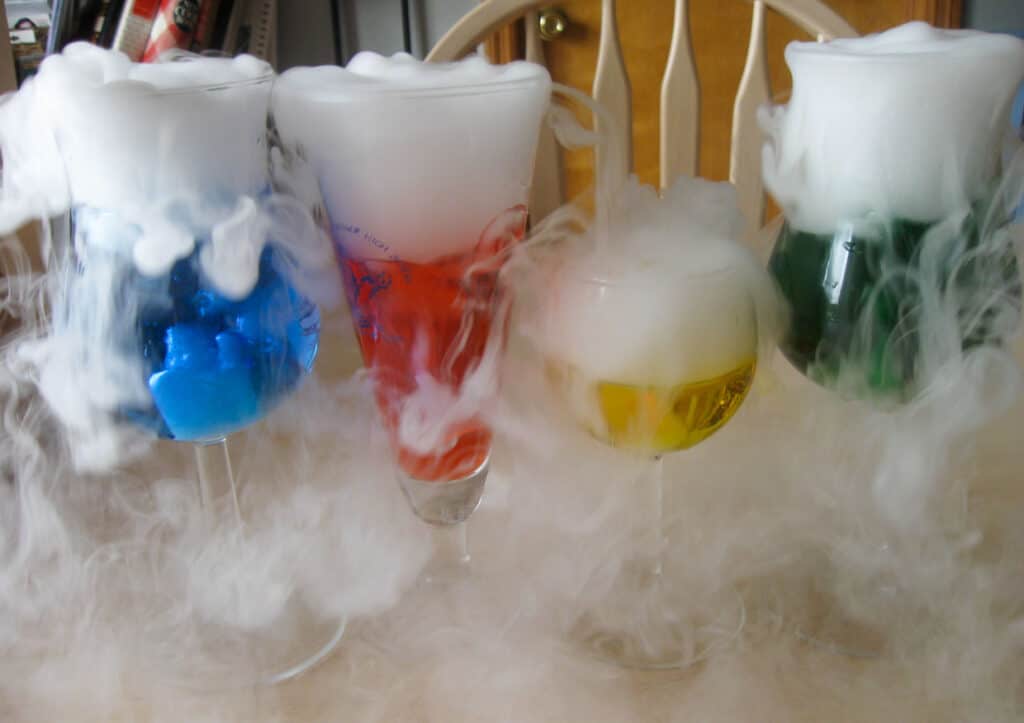
Experiment #1: Dry Ice Fog
This first experiment is a classic and always a crowdpleaser; creating a foggy effect with dry ice. Here’s what you’ll need:
- Bowl or cup
- Warm water
- Tongs
- Dry ice
- Food coloring (optional but fun)
Here’s how to do it:
- Review the safety precautions before starting.
- Fill your bowl with warm water.
- Use tongs to carefully add small pieces of dry ice to the water. As the dry ice sublimates and turns into a gas, a thick fog will rise out of the bowl.
- As you add more dry ice, the fog will get thicker and thicker. You can experiment with different amounts to see how much fog you can create.
- You can also add food coloring to the water and call it a “Potions Class.”
- Be sure to do this experiment in a well-ventilated area and keep your face away from the fog.
Use this to create a spooky atmosphere for Halloween. Make it even more effective by using a big black bowl to look like a bubbling cauldron.
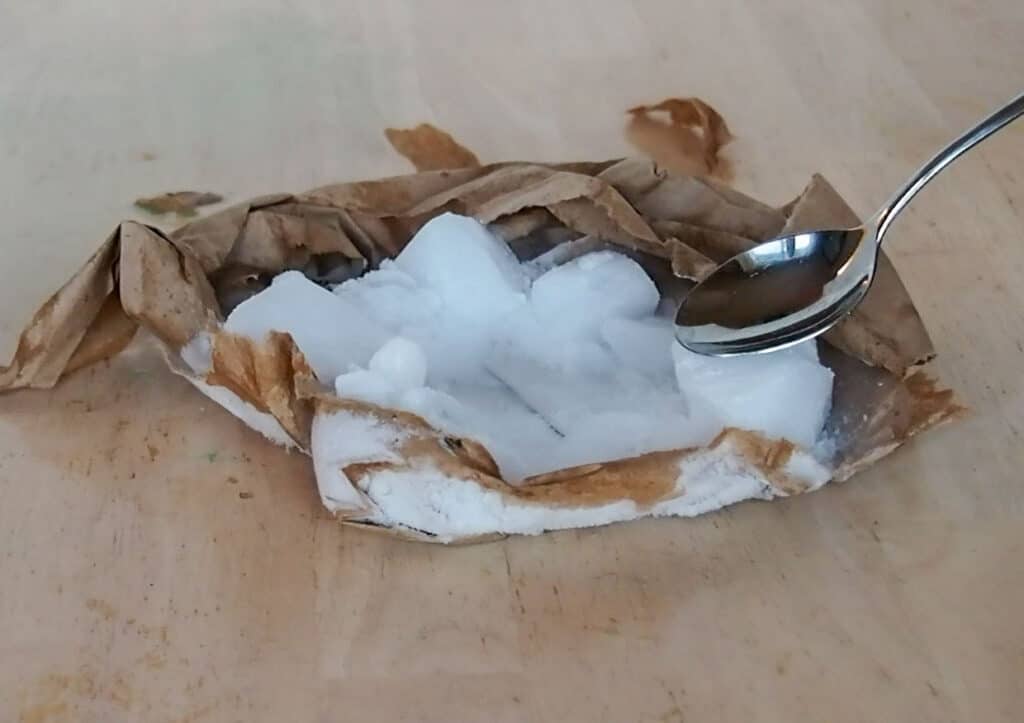
Experiment #2: Singing Spoon
This simple experiment creates an unusual (and noisy) effect. Here’s what you’ll need
- Warm water
- Metal spoon
- Dry ice
Here’s how to do it:
- Review the safety precautions before starting.
- Run your spoon under hot water for a few seconds to heat it up. Then dry it off.
- Press the warm spoon directly against dry ice.
- The dry ice will turn into gas, which causes pressure on the spoon. The combination of the pressure spoon exerts on the dry ice and the pressure back from the gas will generate a high-pitched singing sound.
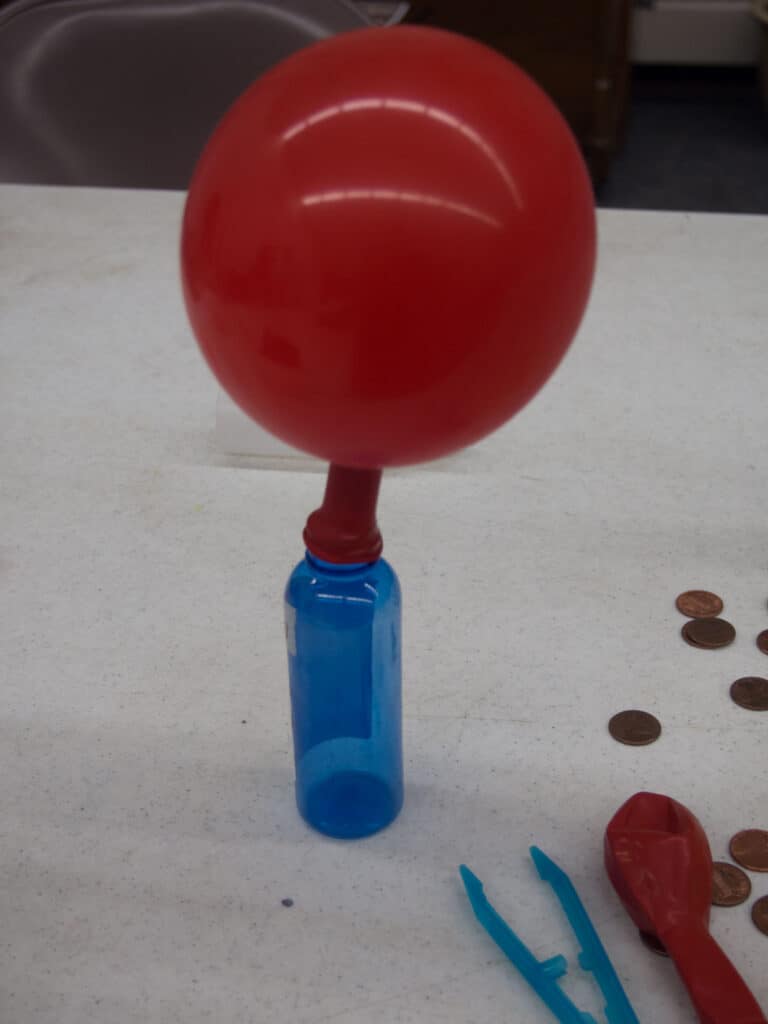
Experiment #3: Dry Ice Balloon
This next experiment is a fun way to blow up a balloon. Here’s what you need:
- Small bottle
- Dry ice
- Tongs or a plastic spoon
- Balloon
- Funnel
- Warm water
Here’s how you do it:
- Review the safety precautions before starting.
- Start by filling your bottle with small pieces of dry ice. Use tongs spoon to transfer the dry ice.
- Use a funnel to add a little bit of hot water to the balloon.
- Stretch the opening of the balloon over the top of the bottle. Once it is attached, hold the balloon up, so the water goes into the bottle.
- As the dry ice sublimates and turns into a gas, it will inflate the balloon.
This experiment provides an easy visual way to understand that dry ice turns into a gas.
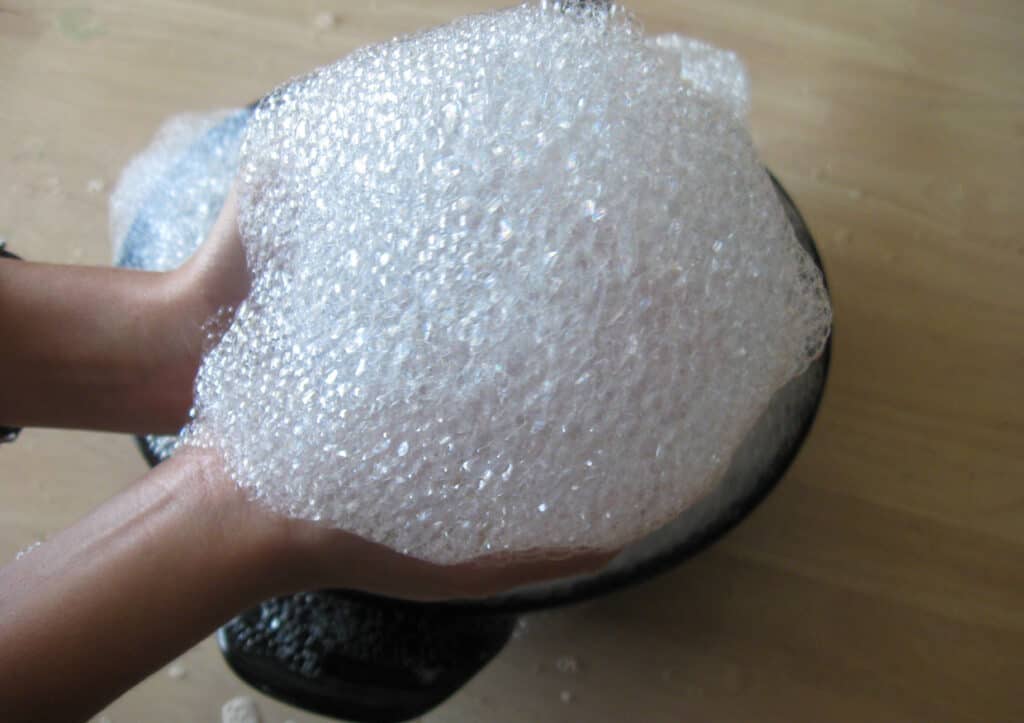
Experiment #4: Dry Ice Bubbles
This experiment combines dry ice with soap bubbles for a fun and somewhat messy experiment. Here’s what you need:
- Warm water
- Dish soap
- Cup
- Tongs
- Dry ice
Here’s how you do it:
- Review the safety precautions before starting.
- Add warm water and a small squirt of dish soap to the cup.
- Use tongs to add a few pieces of dry ice to the cup and watch the bubbles rise.
- Dry ice fog is trapped inside the bubbles, so if you squeeze them as they overflow from the cup, you will generate even more fog.
- For even more bubbles, try this one in a large bowl.
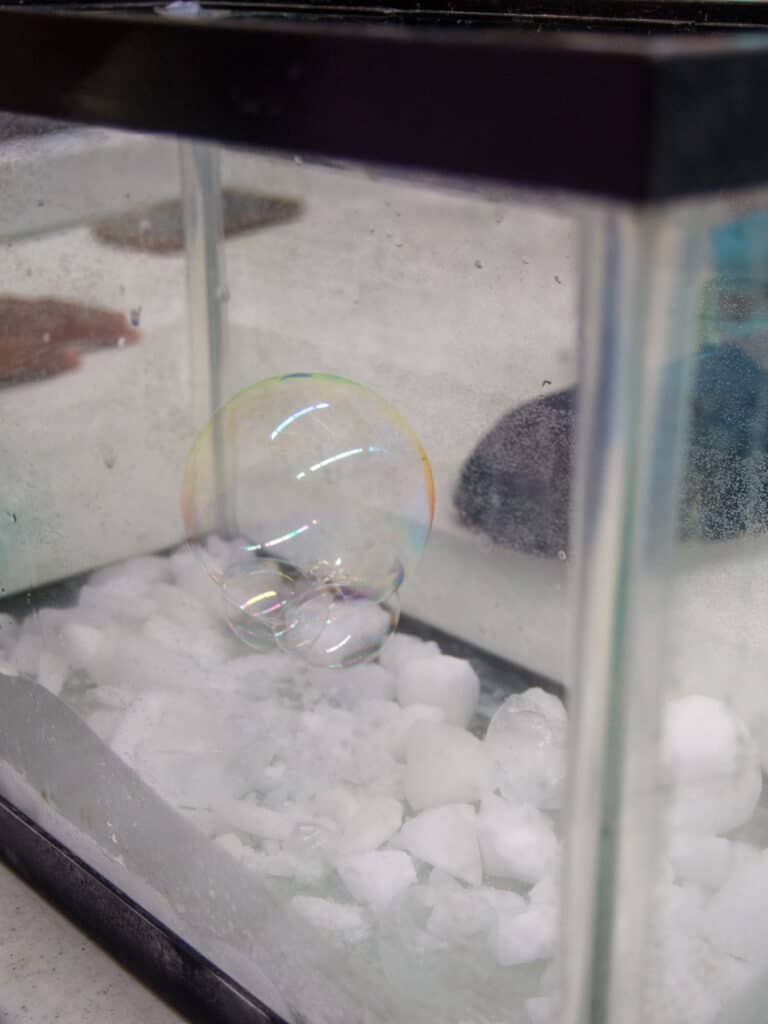
Experiment #5: Floating Bubbles
This experiment takes a few more supplies, but it is worth a little effort. It is excellent for showing how carbon dioxide gas sinks. Here’s what you need:
- Tongs
- Dry ice
- A large clear container, like an empty fish aquarium
- Warm water
- A container of bubbles with a bubble wand
Here’s how you do it:
- Review the safety precautions before starting.
- Use tongs to fill the bottom of the aquarium with dry ice. Add a little water, so it starts to turn to gas.
- Use a bubble wand to blow some bubbles into the aquarium. Don’t put your head down into the aquarium. Blow the bubbles over the top. It might take a few tries to get one to go inside.
- The bubbles stop and seem like they are floating in mid-air. They are floating on a layer of carbon dioxide that has sunk to the bottom of the aquarium.
Summing Up
These five experiments are a great starting point for exploring the world of dry ice with children. They are easy to set up and entertaining.
Use dry ice to introduce kids to the world of science and make learning fun. It will help inspire kids to explore the world around them, encourage them to think critically and creatively, and learn to enjoy science.
Anne Jolly is the creator of the food blog Upstate Ramblings. She loves to cook with gadgets like an air fryer, sous vide or pressure cooker. In her free time she enjoys hiking, reading, knitting and spending time with her three kids.