High-altitude baking is challenging due to the lower air pressure, which affects how ingredients behave and baked goods rise. This can lead to cakes turning out dry and flat, cookies spreading too much, and pie dough lacking flakiness. Understanding the secrets to high-altitude baking can make all the difference in achieving delicious results.

The challenges of high-altitude cooking and baking can be very discouraging. Most sea-level recipes work up to around 3,000 feet, but you start seeing problems above that. Trial and error play a significant role in adjusting to these conditions, but knowing the best tricks can set you up for success.
Understanding high-altitude baking
Baking up in the mountains? You may need to tweak your baking techniques and recipes to account for the unique environmental conditions at high elevations, usually over 3,000 feet or 900 meters. At these altitudes, lower air pressure, drier air and faster evaporation affect how ingredients act and how your baked goodies puff up and cook. You might need to play around with ingredient amounts, oven temperatures and baking times to get things just right.
The change in pressure affects baking in three ways
At high altitudes, the lower air pressure alters how ingredients interact during baking, requiring specific adjustments to recipes. These changes impact the texture, moisture, and structure of baked goods in the following ways:
- Liquids evaporate faster, causing baked goods to dry out more.
- Liquids boil at a lower temperature, making baked goods rise faster — sometimes before the dough sets properly.
- Leavening gases such as baking soda, baking powder and yeast expand quickly, creating pockets that can lead to air holes in the batter, which causes baked goods to collapse.
There are no strict rules for adjusting recipes. However, general high-altitude baking adjustments will help you achieve better results in higher climates.
Different baked goods need their own tweaks. It might take a few tries to get it right, so try to change one ingredient at a time to see what difference it makes.

Try these high-altitude tips for success
Before you adjust recipes for high-altitude baking, it’s wise to try them as written. Every recipe reacts differently to altitude, and some may not need any changes at all. However, if you’re ready to experiment, here are some general adjustments to consider when baking.
Oven temperature: Adjust the oven temperature by raising it to 15 to 25 F; opt for the smaller increase when baking chocolate or delicate cakes. The goal is to set the structure of baked goods at a higher temperature to prevent them from overexpanding and drying out too quickly, as leavening and evaporation happen faster at high altitudes.
Baking time: For every 30 minutes of baking time, decrease the time by five to eight minutes: do this if you don’t adjust the temperature.
Additional flour: Increase the flour amount by 1 additional tablespoon per recipe at an elevation of 3,500 feet. For every additional 1,500 feet of elevation, add another tablespoon of flour. This will help the structure of the baked goods.
Decrease sugar: Reduce sugar by 1 tablespoon per cup. As more moisture evaporates, the sugar in your baking can become more concentrated, possibly making your baked goods a bit weaker in structure.
Additional liquid: Boost the liquid content by adding 1 to 2 tablespoons more at 3,000 feet. Then, for every extra 1,000 feet, add one and one-half teaspoons. Depending on the recipe, you can also incorporate extra eggs into this liquid. Additional liquid prevents products from becoming too dry due to the elevated temperatures and increased evaporation rates.
Leavening agents: Because the gases from your leavening agents expand quickly, try cutting back on the baking powder or baking soda by 15 to 25%. When tweaking a regular recipe, just use less of those leavening agents: take away about one-eighths of a teaspoon for every teaspoon at 3,000 feet, one-eighths to a quarter teaspoon at 5,000 feet and a quarter teaspoon at 7,000 feet.
Reduce the fat: Cut back on the fat in your recipe because it can affect how your baked goods hold up. Fat breaks down gluten, making your treats nice and soft. But too much fat can alter your high-altitude baking, causing cakes and cookies to flop.
“I live at a high altitude, and I once frustratingly attempted baking macarons 13 times over the span of four days. What did I learn? While normally you need to increase the oven temperature when baking at a high altitude, I found that with macarons in particular, I only got a great result once I lowered the oven temperature to 260 F, baked them for 25 minutes and let them rest in the oven for about 10 minutes after turning it off. Perfection.”
— Kristen Wood, MOON and spoon and yum
Try these simple adjustments for these baked goods
High-altitude baking requires specific changes to ensure successful results. Here are some tailored adjustments for different types of baked goods to help you achieve the best outcomes:
- Cakes: Decrease leavening agents and increase the liquid by using an extra egg or egg white.
- Cookies: Reduce sugar and fat, and adjust baking time and temperature.
- Yeast bread: Reduce the yeast by 25%, let the dough rise in the refrigerator overnight, or let it rise twice by punching down the dough on the first rise.
- Quick bread: Decrease leavening agents and sugar and adjust baking time and temperature.
- Pie crusts: You may need extra water to form the pie dough.

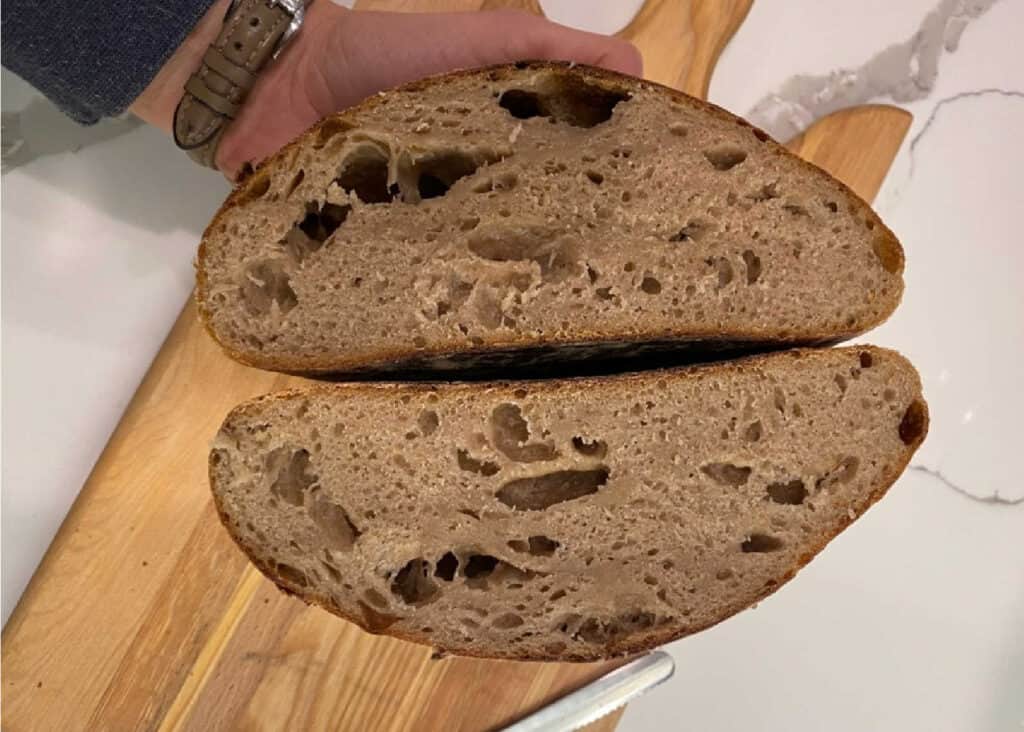
“When we moved across the country from a low-altitude to a high-altitude city, my tried-and-true homemade bread recipe flopped big time. It rose too quickly, and it seemed raw in the middle after baking it. A new neighbor told me to reduce the yeast amount by a quarter teaspoon, let it rise in my fridge and bake it at 400 F instead of 375 F. It worked.”
— Sarita Harbour, An Off Grid Life
Conquering high-altitude baking isn’t magic, but it is a bit of science. Understanding how the air up there messes with your ingredients is half the battle to achieving high-altitude baking success. With these tips and a little trial and error, you’ll be whipping up masterpieces in no time. Don’t worry if it takes a few tries to perfect your recipes — the melt-in-your-mouth results are worth it.
Jere’ Cassidy is the writer and recipe developer behind the blog One Hot Oven. A passion for all things food-related led her to culinary school to expand her baking skills and now to share easy recipes for all home cooks and bakers of all skill levels. When not in the kitchen, Jere’ likes to travel far and wide to find delicious food.