When it comes to entertaining, a cheeseboard is one of the easiest yet most impressive ways to wow your guests. Whether you are hosting a casual gathering or a festive holiday party, a cheeseboard can act as a centerpiece and a conversation starter. With these simple tips, you’ll be able to put together a board that’s not only delicious but also beautiful.

Start with the right base
Before you begin selecting cheeses and accompaniments, you have to start with choosing the right board. The base of your cheese board will impact the overall presentation and determine how much you can serve, so it’s worth thinking about the size, shape and material.
A wooden board is a classic option that adds a bit of rustic charm, while marble or slate can create a more modern or elegant look. A round or rectangular board may work best for smaller gatherings, while larger, longer boards are great for more guests. Just ensure there is enough space for your cheeses and all the extras you plan to add without overcrowding it.
Pro tip: According to Lauren Hardesty, expert cheeseboard maker and owner of Fable Charcuterie and Wine in Lexington, Kentucky, “Any flat surface can be used as a cheeseboard base, but it’s easiest to build on a board with an edge on it, to keep things from rolling off.” As a professional who has been crafting cheeseboards since 2018, Lauren knows a thing or two about creating beautiful, crowd-pleasing boards.
Choosing the right cheese
Now that you’ve chosen the base for your display, it’s time to choose the star of the show: The cheese. Variety is essential when it comes to selecting cheeses, and including a range of flavors and textures will help keep things interesting. A good rule of thumb is to choose three to five types of cheese, depending on the size of your board and the number of guests.
While it is important to use a variety of hard and soft cheese when building your board, it’s not the only way to include variety. Cheese variety can also be found in different cheese-making methods and source ingredients. Our cheeseboard expert, Lauren, says, “I like to create my boards using cheeses from different animals. For example, a hard cheddar from cow’s milk, a fresh chevre cheese from goat’s milk and a manchego cheese from sheep’s milk.”
Arranging the cheese
Now that you’ve narrowed down your cheese selection, it’s time to start arranging it on the board. Think of your board as a blank canvas. The cheese is just the first component going on the board, so you will want to space it out to leave room for fruits, vegetables, crackers and other accouterments that will add visual appeal.
When arranging the cheese, contrast the size and shape of the different varieties. Soft cheeses like brie or burrata should be left whole, while semi-soft and hard cheeses should be sliced into easy-to-serve bite-sized pieces. You may consider breaking hard, crumbly cheeses into chunks instead of slices to add more texture to the board.

What to add besides the cheese
While cheese may be the star of the board, the accouterments can make your board truly unforgettable. Adding a variety of crackers or bread will bring texture and flavor to the board, but that is only the beginning. Fresh and dried fruit can bring a touch of sweetness, roasted nuts can add a salty element and pickled items, like olives or onions, can add a tanginess that will cut through the richness of the cheese.
As Lauren advises, “Different accouterments go better with different cheeses. Having honey or jam with brie is a must, as well as a grain mustard with a hard cheddar. To keep it interesting, add pickled veggies or a seasonal fruit like figs. By using a variety of ingredients, each bite you take can be a different experience for your palette.”
Making your cheeseboard stand out
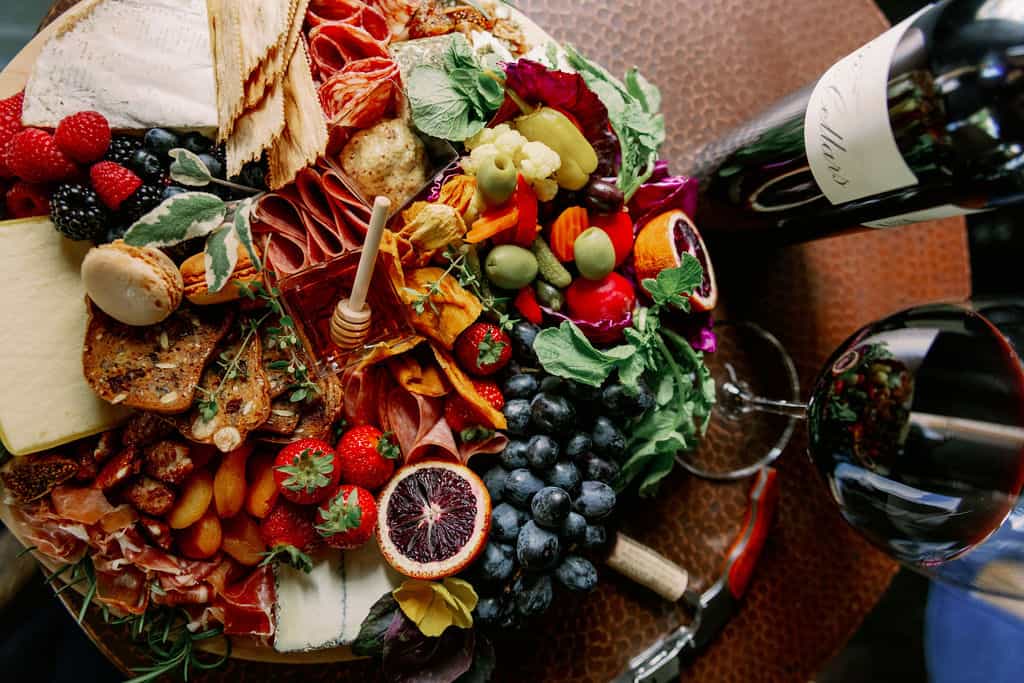
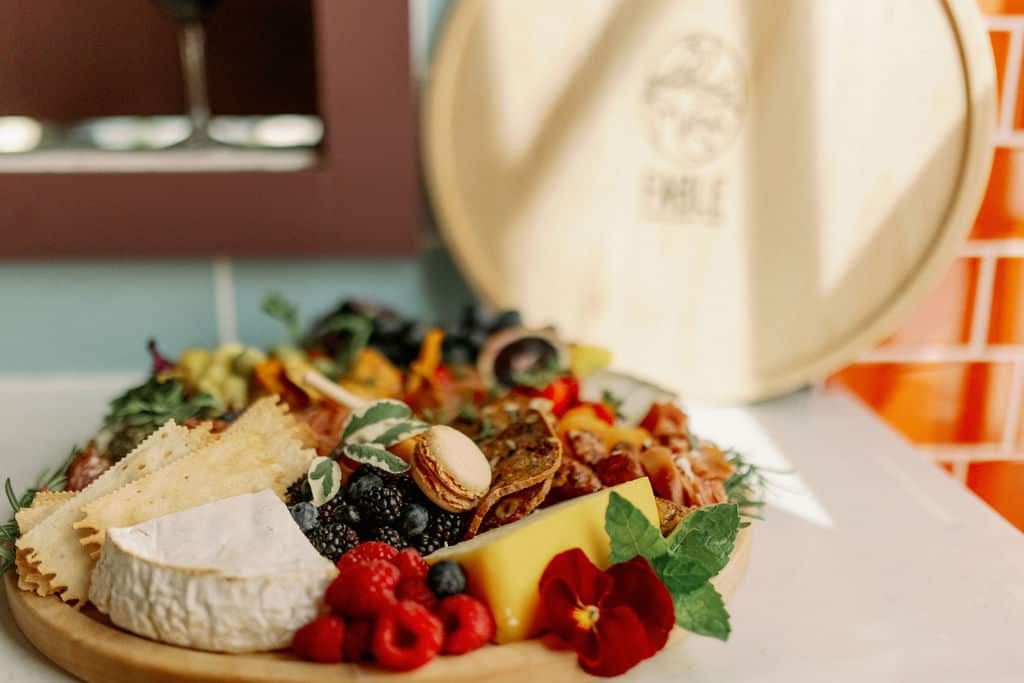
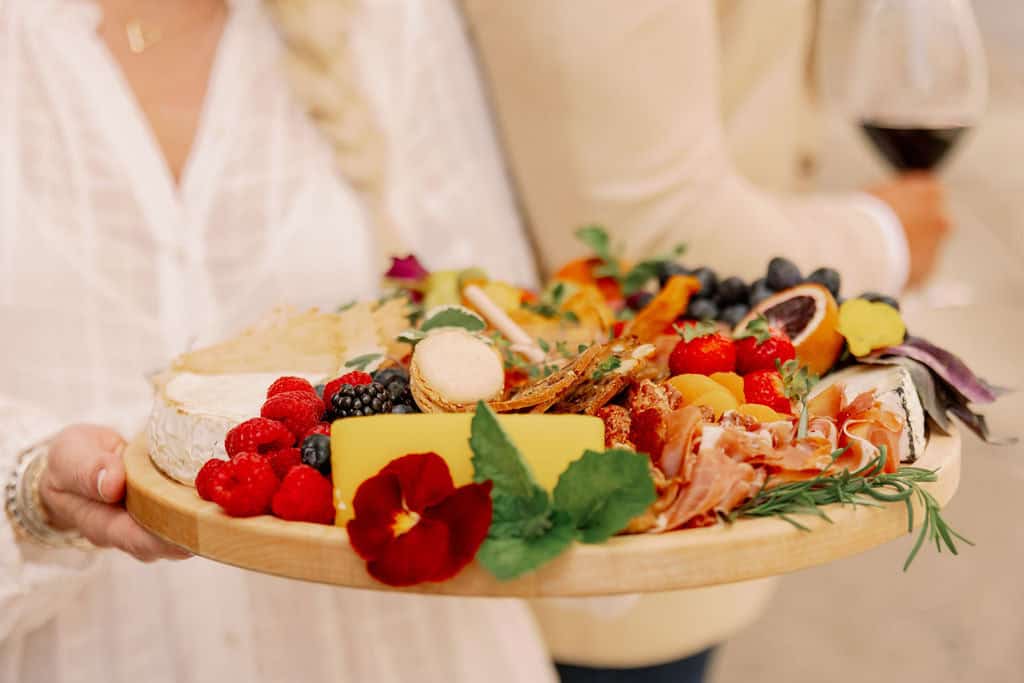
A professional-looking cheese board doesn’t just taste amazing — it’s also visually stunning. When it comes to making Instagram-worthy cheeseboards, Lauren’s creations set the bar extremely high. She recommends that you “use a variety of colors and space them accordingly on the board. The freshest seasonal fruit and/or veggies are also helpful in keeping it interesting. Adding edible flowers and herbs is also a nice touch.”
Perfect pairings for your cheeseboard
Now that your cheeseboard is a work of art, it’s time to figure out the perfect pairings for presentation. While wine is an obvious choice, craft beers, cocktails, mocktails and teas also make for exciting options.
The true beauty of having a variety of cheese on your plate is that you can provide a variety of beverages to pair with it. While a light, creamy goat cheese will pair nicely with a crisp Sauvignon Blanc, the tannins in a Merlot can round out an aged, smoky gouda. A malty ale may complement a sharp cheddar, while a fruity Belgian plays better with a soft camembert. When considering mocktails, try pairing unsweetened, iced fruit teas with your cheeses. The options are endless.

Make a cheeseboard like a pro
Creating a cheeseboard like a pro is all about balance — from flavors and textures to visual elements. With a bit of thought and some careful planning, you can turn a simple assortment of cheese and accouterments into a stunning, professional-looking display that will have your guests coming back for more. The next time you’re hosting, break out your cheeseboard, get creative and watch your guests be amazed.
Renee N Gardner is the creator behind Renee Nicole’s Kitchen, a recipe blog based on seasonal ingredients, dedicated to helping home cooks build their kitchen confidence to become home chefs. When Renee isn’t writing, developing recipes or photographing food, you’ll find her in the garden, traveling or enjoying the outdoors with her husband, son and two dogs.