Fall pies filled with autumn spices, fruit pies that blend tart and sweet and savory pies for dinner — whatever the filling, the best pies come down to the perfect crust. These pro tips will make getting a flaky, flavorful, flawless pie crust easier.
This post may contain affiliate link(s). As an Amazon Associate, I earn from qualifying purchases. See Disclosures.
Homemade pie crust can be intimidating since several things can go wrong. Crusts that are too tough, lack flavor or have the dreaded soggy bottom can make the entire dessert lackluster. Uneven browning or tears in the crust can undermine all the work you put into your pie.
But a few tips from expert pie bakers — and a little practice — can make pie crusts easy and delicious. Although store-bought pie crusts are good for efficient baking, they don’t compare to a homemade crust. For an apple galette this holiday season or cherry hand pies for snacking on all year long, integrate these tips into your baking and make your next pie a show-stopping treat.
Selecting the right ingredients for pie crust
A basic pie crust needs only three ingredients: Flour, fat like butter and liquid to bind it together. Many recipes also call for a little salt or sugar to add flavor. Choosing and balancing these ingredients is the foundation of your pie crust.
All-purpose vs. pastry flour in pie crust
All-purpose flour has a protein content of around 10%-12%, while the protein content of pastry flour is around 8% or 9%, according to U.S. Flour. Protein represents the amount of gluten in the flour and gluten helps for structure. The structure is great for bakes like bread but can contribute to a tough pie crust. By using pastry flour, you can get a more tender crust more easily.
Butter and shortening
The next ingredient in your pie crust is fat. As the crust bakes, the fat melts away, giving the crust that flaky goodness. Butter creates a rich, flavorful crust. Shortening melts slower, making it easier to work with and often yields a flakier crust. Make your crust with half butter and shortening for the ultimate taste and texture.
Water, vodka and other binders for pie crust
A liquid binds pie dough; while water works, pros often choose vodka. Water and flour create gluten, which can make the crust tough. Since alcohol doesn’t develop gluten as easily, vodka helps keep the dough tender. You won’t taste the vodka in the finished crust, so there’s no need to use an expensive one. A cheap option works perfectly.
Perfecting your crust-making technique
When it comes to pie crust, the two biggest challenges are gluten and heat. Too much gluten development during baking will make your crust tougher and more like bread. Too much heat — or any heat — before the crust goes in the oven will prevent the crust from becoming flakey.
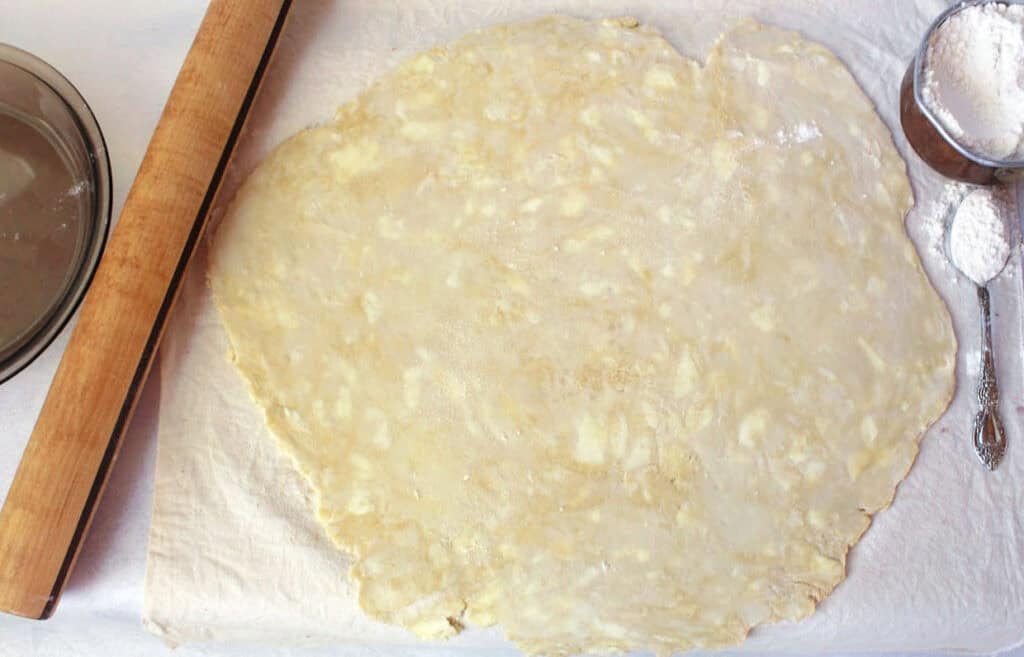
In addition to the right ingredients, such as low-protein flour and vodka instead of water, you can also prevent gluten formation by not overworking the dough. Mixing and kneading stimulate gluten development, so mix it only until the dough comes together.
“My secret to a great pie crust is keeping everything cold, cold, cold — cold butter, cold water and chilling the dough — so I can get that flaky texture without spending too much time on it. Chilling the dough and not overworking it does the trick, so I end up with a tender, flaky crust without all the fuss.”
— Shruthi Baskaran-Makanju, Urban Farmie
After the dough has come together, wrap it in plastic wrap, splitting it into two halves if you are making a double-crust pie. Place it in the fridge for at least an hour to let the fat solidify again before you roll out your crust.
Baking pie crust to perfection
Pie plates most often come in glass, ceramic and metal. Since a pie makes a great centerpiece at Friendsgiving, Thanksgiving or other holiday meals, you can always choose a pie pan based on appearance. However, different materials also affect how the crust cooks.
A ceramic dish heats evenly and gently. It is ideal for pies that require a longer baking time since the slower heat reduces the risk of burning. Pie tins made from metal are lightweight, affordable and heat quickly. This will give you an extremely flakey crust in a short time. Metal pans are good for blind-baking and fast-cooking pies but could lead to overblown crusts at longer cooking times.

Glass pie plates have an even heat transfer for a golden and crispy crust. However, glass can shatter due to rapid temperature changes. Don’t use a glass pie plate if your pie goes from freezer to oven or you need to broil the pie, such as for a meringue topping.
Some pie recipes call for blind baking, which means baking the crust without a filling. This allows you to add a no-bake filling, like a butterscotch cream pie. To blind bake a pie crust, poke holes in the bottom of the crust to let steam escape. Line the crust with parchment paper and fill it with pie weights or uncooked rice to hold its shape. Freezing the crust for 30 minutes before baking also helps maintain its structure.
Troubleshooting common pie crust problems
Even expert pie bakers need help with their crusts. Knowing how to troubleshoot these problems can help you save your pie.
If your pie crust cracks or slumps during blind baking, you can often patch it with extra pie dough or flour and water paste. Place the dough or paste over the crack or up the sides of the pie tin, cover the already-baked crust with aluminum foil and bake once more.
Ensure your oven is fully preheated before placing your pie inside, or try a metal pie pan to avoid a soggy bottom. You can also blind bake the crust for pumpkin pies, pecan pies and other single-crust pies. The baked crust will be less likely to absorb moisture from the filling as the pie cooks.
You’ll also want to avoid burning or uneven browning of the crust. Watch your crust as the pie cooks. If one side is browning more than the others, rotate the pie tin during baking. If the entire crust is browning too quickly, cover it in aluminum foil to prevent burning.
Bake your next pie crust like a pro
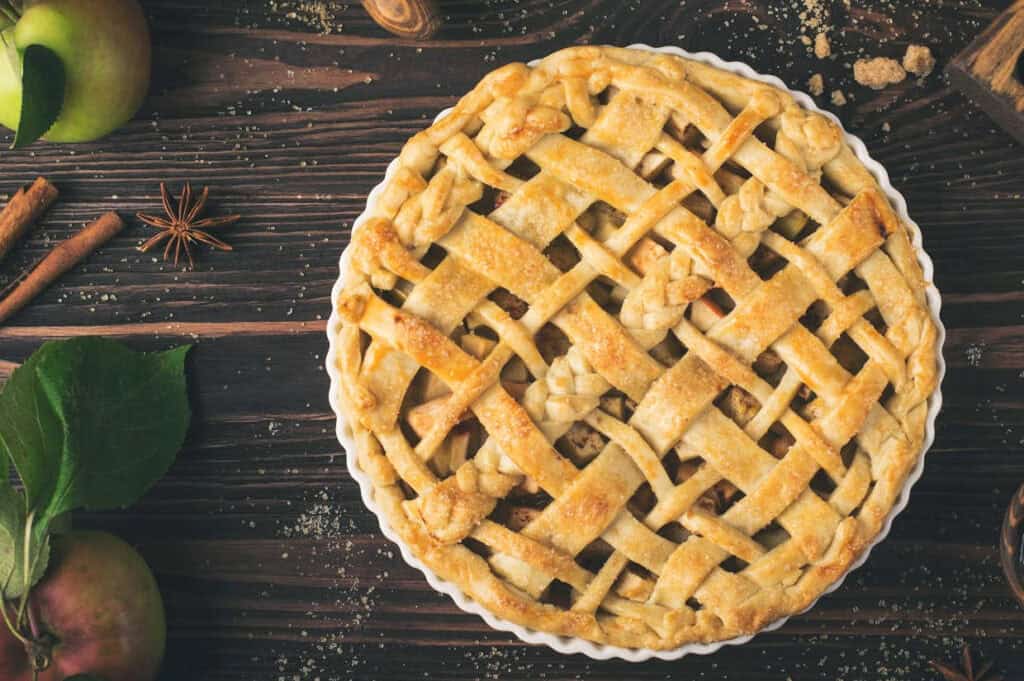
The taste and texture of a homemade crust will transform your pies. You can even start experimenting, adding decorative lattice and crimping, or swapping out flour for gluten-free or whole-grain alternatives. You can also begin tailoring the flavors, adding herbs or making a chocolate tart crust. However you make your pie crusts, your new expertise will make your pies the hit of your holiday parties and you will be a pie-making pro.
Jere Cassidy is the writer and recipe developer behind the blog One Hot Oven. A passion for all things food related led her to culinary school to expand on her baking skills and now to share easy recipes for all home cooks and bakers of all skill levels. When not in the kitchen, Jere’ likes to travel far and wide to find delicious food.