
Fermentation, a time-tested food preservation method, can change the flavor, texture and nutritional characteristics of foods and beverages. While our ancestors used basic equipment, people interested in fermentation today have various gadgets that make the job easier and safer.
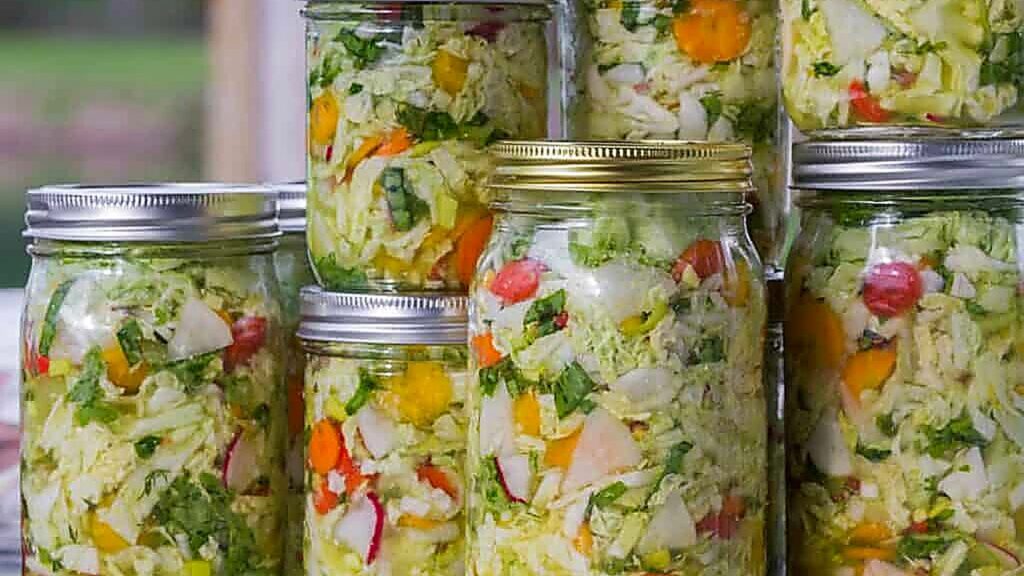
Use this curated list of top 10 fermenting supplies, tips and FAQs to prepare for your first fermentation adventures. These tools can help you keep ingredients submerged, monitor fermentation conditions and make each batch easier to manage.
Why ferment food
Fermentation can improve the nutritional characteristics of some foods by changing or breaking down certain components. It can also preserve food and create distinctive flavors and textures. Yogurt, pickles, kimchi and kombucha are examples of fermented foods.
Fermenting supplies that make the process easier
If you’re planning to start fermenting vegetables, fruit or other foods at home, having the right supplies can make the process easier. Here are 10 ideas, including tools, equipment and other supplies to help make fermenting foods easier.
Wide-mouth glass jars
If you’ve already tried your hand at water-bath canning, you might already have a stash of mason jars. Choose wide-mouth glass mason jars over regular ones for fermenting. These jars allow easy access to your ferment and have enough space for the contents to expand during the process.
Kitchen scales
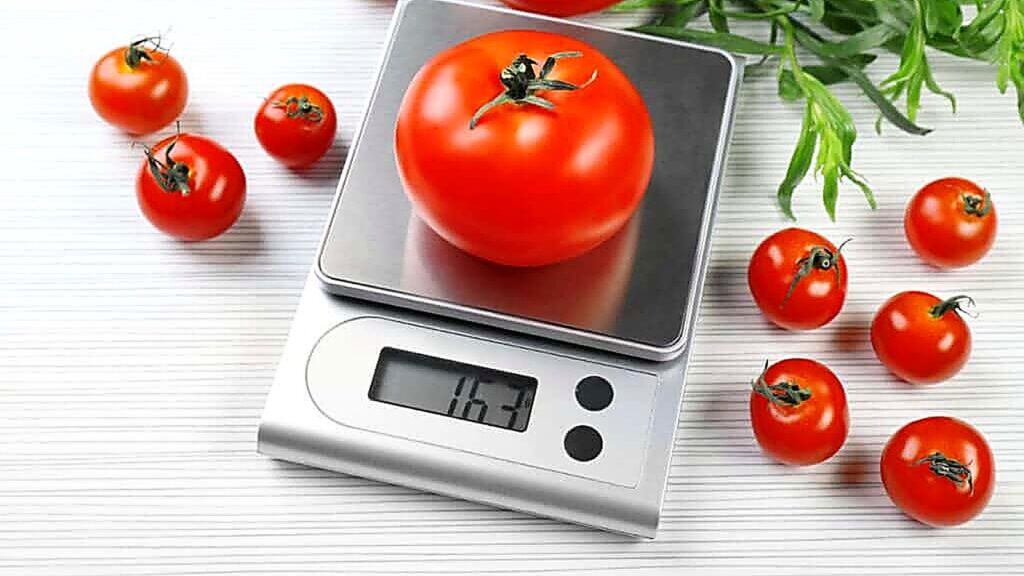
A kitchen scale helps you accurately measure produce and salt when following a tested fermentation recipe. It’s also useful for food portioning and if you plan to start pickling.
Airlocks
Airlocks let carbon dioxide produced during fermentation escape while limiting the amount of oxygen and outside contaminants from entering the container. They can make it easier to maintain the low-oxygen conditions many vegetable ferments need. Attach the airlock according to the manufacturer’s directions and make sure the fermenting food remains submerged beneath the brine.
Weights
Fermentation weights keep vegetables submerged beneath the brine. It helps maintain the conditions needed for successful fermentation.
Fermenting crock
A fermenting crock is a stoneware pot for fermenting vegetables and other foods. It keeps the low-oxygen environment needed to preserve food and develop flavors. To use a fermenting crock, prepare the vegetables according to your recipe, weigh them down beneath the brine, then cover the crock and allow fermentation to take place.
Canning funnel
A canning funnel helps you pack your veggies into jars without making a mess. It’s handy when working with small-sized produce like berries or cherry tomatoes.
Fermentation lids
Fermentation lids are specialized lids that can help maintain a low-oxygen environment inside the jar. Many include a built-in airlock or a one-way valve.
Vegetable tamper or crusher
A vegetable tamper, also known as a cabbage crusher or sauerkraut stomper, is a useful tool in your fermenting arsenal. It helps pack down vegetables and reduce the natural juices that form the brine in ferments such as sauerkraut.
pH test strips
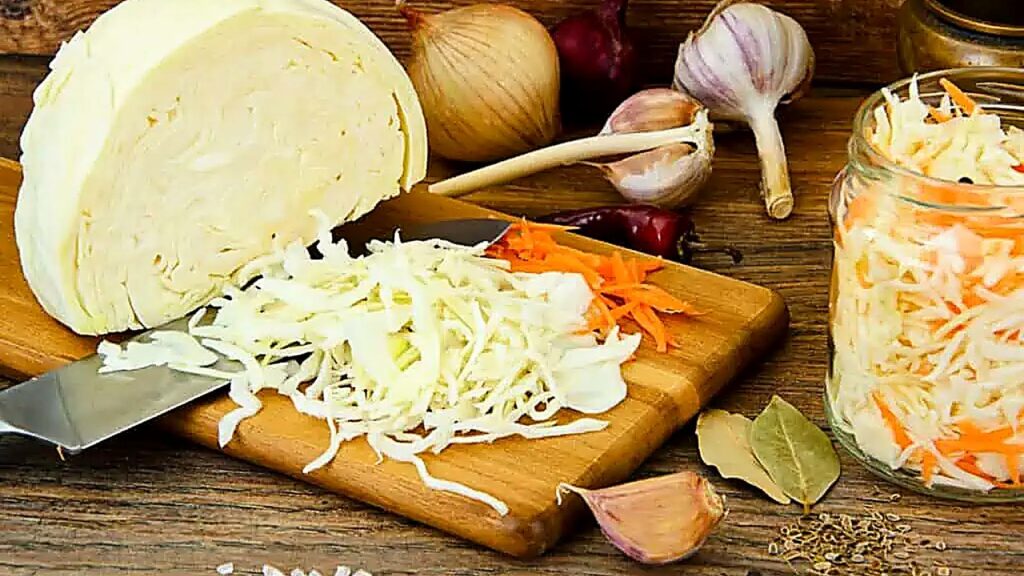
Checking pH can help you monitor the increasing acidity of a ferment. A pH of 4.6 or lower is an important food-safety benchmark for fermented vegetables. Use food-appropriate pH strips or a calibrated pH meter according to the directions for your recipe.
Thermometer
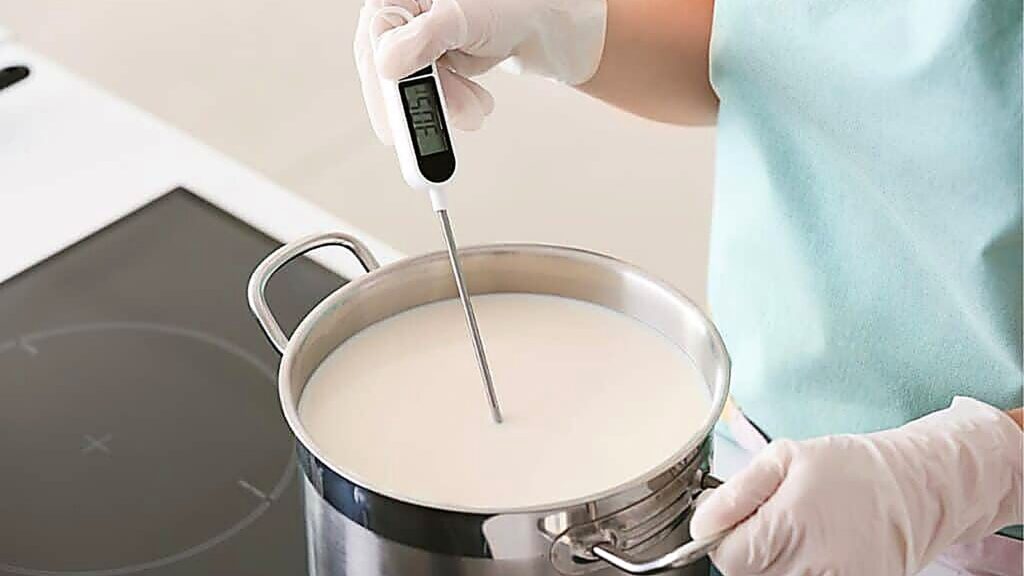
A good thermometer helps maintain the correct temperature throughout fermentation. Temperature affects both the speed and quality of fermentation. This tool helps you make sure your ferment stays within the temperature range specified in your recipe.
Tips for fermenting success
If you’re new to fermenting, start with a small-batch recipe, such as classic sauerkraut or kimchi. These recipes require minimal ingredients and have straightforward processes. Gather all your tools before you begin. This includes wide-mouth glass jars, airlocks, weights, a canning funnel and fermentation lids.
Next, choose fresh vegetables or fruits, as these will yield better results.
Then follow a research-tested fermentation recipe and its directions carefully, including the specified amount of produce, salt and liquid.
Learning from mistakes
As with most other new skills, fermenting takes time to master. You may hit a few bumps as you learn to ferment foods at home.
Check each batch carefully, particularly when you’re new to fermenting. Some bubbling, sour aromas and changes in appearance are normal during fermentation. However, discard a ferment if you see significant mold or if the food becomes slimy or develops an obviously rotten or unpleasant odor.
Don’t taste a ferment you’re unsure about. Consider these first fermenting experiences as learning opportunities rather than setbacks.
Fermenting supplies FAQs
Here are some common questions about fermenting foods.
Do all fermented foods contain probiotics?
Some fermented foods contain live microorganisms, but not every fermented food qualifies as a probiotic food. Probiotic benefits depend on the specific microorganisms present and whether they’ve been shown to provide a health benefit.
What is the best material for fermentation supplies?
Glass jars work well for fermentation because glass is non-reactive and easy to clean. Stone crocks and food-grade plastics are other options for fermenting containers.
What are some common types of food fermentation?
Food fermentation can be classified in different ways. Four commonly recognized categories in food production are:
- Alcoholic fermentation.
- Lactic acid fermentation.
- Acetic acid fermentation.
- Alkaline fermentation.
Other fermentation pathways, including propionic and butyric fermentation, also play roles in particular foods and industrial processes.
Get set for success with the right fermenting supplies
The right fermenting supplies can make home fermentation easier and help you maintain consistent conditions. Jars or crocks, weights and suitable covers help you keep food submerged and protected during fermentation. Other tools, such as a scale, thermometer or pH testing supplies, can help you follow a recipe more precisely.
The world of fermenting may seem daunting, but armed with these tools and some patience, you’ll master this ancient food preservation method. Remember: practice makes perfect, so feel free to experiment until you find what works best for you.
Sarita Harbour is a writer and the creator of An Off Grid Life, where she shares practical information about self-reliance, food preservation, from-scratch cooking and off-grid living. She spent more than a decade homesteading off the grid, gaining hands-on experience with many of the skills she writes about.