
Maple leaves do not own fall decorating. Dried blooms, soft fabric, pantry herbs, wheat, citrus, yarn, and tiny faux gourds can all turn a plain wreath form into something personal. These nine projects rely on beginner skills such as tying, trimming, wiring, and gluing. A few need drying time or repetitive prep, but none requires sewing, floral training, or specialized construction.
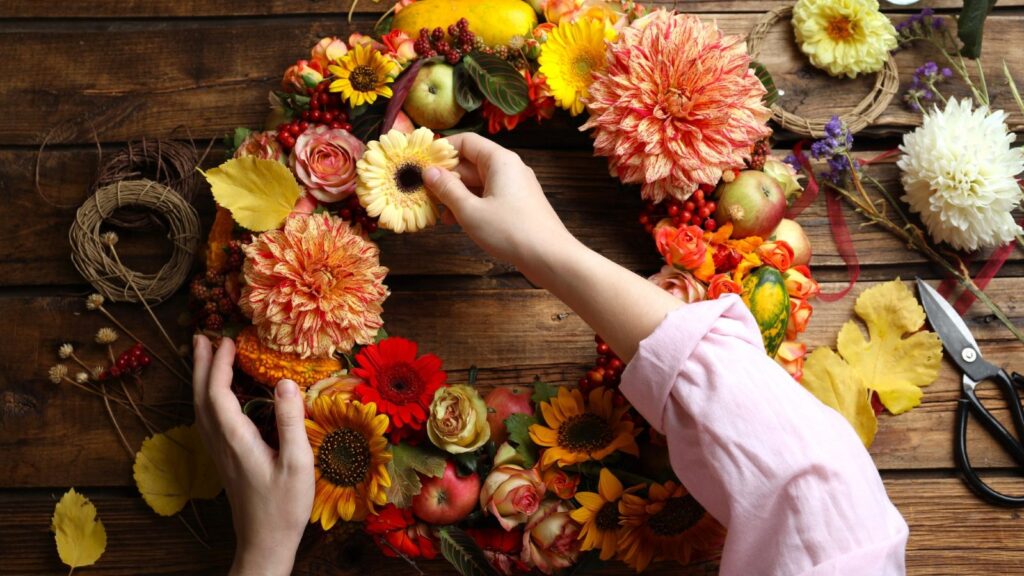
Hot-Glue Dried Strawflowers to Grapevine
Pre-dried strawflowers make this a straightforward glue-and-place project. The maker’s method starts at the front of a small grapevine form, then fills the sides with blooms chosen to fit each gap. Growing and drying your own flowers adds weeks of lead time, and the original wreath took several crafting sessions. Buying dried stems is the realistic shortcut for a weekend project.
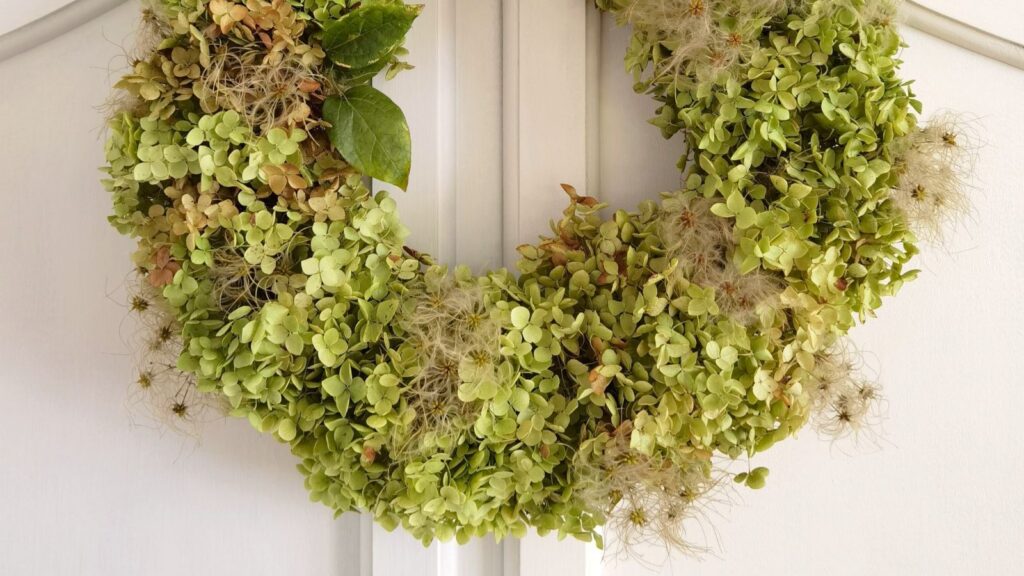
Tuck Hydrangeas Into a Grapevine Form
Slide long hydrangea stems through a grapevine base at an angle, and use floral wire to secure loose blooms. This easy hydrangea tutorial takes 20 minutes total and works with fresh, dried, or faux flowers. Dried heads can crumble when handled roughly, so fresh or faux hydrangeas are the least fussy choice for a first attempt.
Wire Together a Fragrant Herb Wreath
Cover a small metal form with twine, then overlap bundles of rosemary, sage, bay, or other sturdy herbs and bind them with one continuous length of wire. The Sunset method uses ordinary grocery-store herbs and lets the finished wreath dry on a plate for a couple of days. It is beginner-friendly, though bundling takes more patience than hot gluing.
Knot a No-Sew Flannel Rag Wreath
Cut flannel into 3-by-9-inch strips, fold each strip lengthwise, and knot it around a wire frame. The rag-wreath guide estimates one hour and 15 minutes and uses 84 strips for a full 14-inch wreath. Thrifted shirts can replace new yardage. Scissors and a basic knot are the only skills involved.
Tie Looped Ribbon in Fall Colors
Ribbon offers a fast project with almost no learning curve. A six-step beginner guide cuts roughly 6-inch lengths for a 12-inch base, ties each over the central wires, and packs the knots together until the frame disappears. Expect close to 15 yards of ribbon and under an hour of work.
Build Pumpkins From Yarn Pom-Poms
No knitting is required, but this one rewards stamina. The pom-pom pumpkin tutorial makes 11 large and 39 small pom-poms, adds short green yarn “stems,” and ties them to a wire form. Each motion is simple enough for a beginner. Making 50 pom-poms is time-consuming, so split the work across a movie night or two.
Layer Small Wheat Bundles on a Ring
Group three or four dried wheat stalks, trim them to fit, then attach each bundle with a dot of hot glue and twine. The four-step wheat-wreath project layers bundles toward the bottom center and hides the ties with a bow. The repeated placement is uncomplicated, and a partially decorated hoop means fewer stems to align.
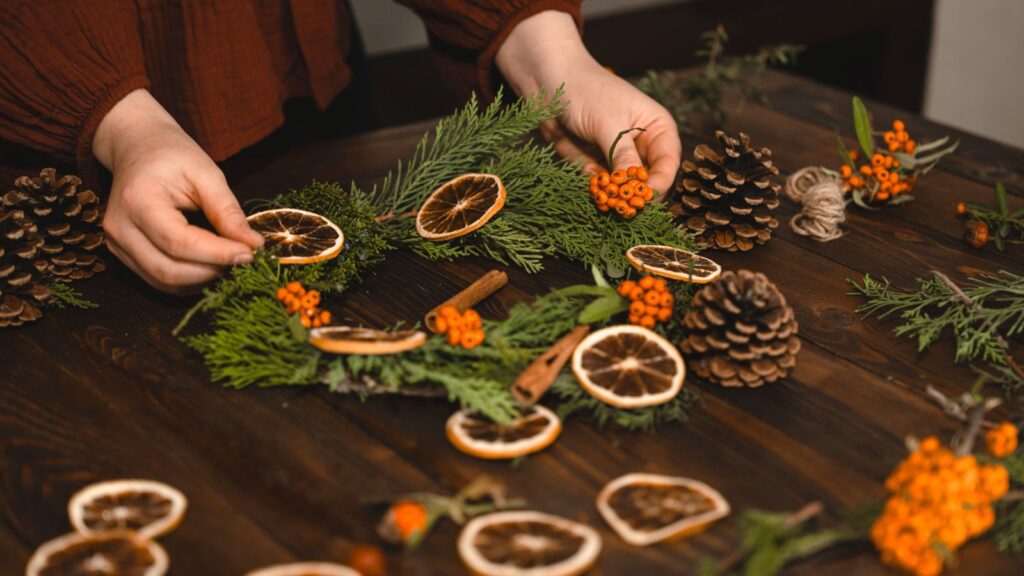
Dry and Overlap Orange Slices
Slice oranges 1/8 to 1/4 inch thick, dry them on parchment at an oven’s lowest setting, and glue the cooled slices around a hoop. The orange-wreath instructions estimate three to five hours for drying, depending on slice thickness and the oven. Active crafting is easy, but the plan should include careful knife use, periodic oven checks, and complete cooling.
Glue Faux Mini Gourds to Grapevine
Fastest of the group, this tiny-gourd wreath needs a grapevine form, faux gourds, and hot glue. Arrange the pieces, glue them in place, and hang the wreath after the adhesive sets. A protective drop cloth catches glue drips. Faux produce keeps the design light, reusable, and free from decay.
Choose the Method You Will Enjoy
“Easy” describes the skill level, not always the clock. A satisfying first wreath matches the way you like to work: quick placement, steady knotting, or a longer sequence of small repeated steps. Start with a modest form and one main material. Finishing a manageable design builds more confidence than forcing an elaborate door display to meet an afternoon deadline.